I have been thinking about building a boiler for my new engine for some time.
I have been collecting parts as I commit to parts of the design.
At the time, 2011, scrap copper is selling for $4.50 per pound which is high.
Silver Solder has gone through the roof since Silver is about $29.00USD per ounce (about 1/16 of a pound).
I finally committed to the design and drawn it out.
The design is similar, but smaller to my current boiler.
It is a "Modified Roberts" style boiler, and should be considered experimental.
I want 15 to 20 ft^2 of heating surface area.
Having a 6" tube that is 18" long, should make this possible.
WARNING or Worse
Do not attempt to build this or any other boiler or pressure vessel unless you have complete training in all aspects of design and fabrication of these dangerous things.
Many people have lost their lives due to boiler or pressure vessel explosions.
Plan
I am not going to say much from here on since it is much more fun to be working in the shop.
I will try to add pictures from time to time.
Initial Layout (1/23/2011)
I had a few revolutions as I was doing the design.
Charlie Roth kept telling me that I should use 3/4" tubes coming up into the 6" steam drum.
I thought that 1/2" would probably be OK.
Charlie was just telling me make them bigger.
I wanted to increase the safety factor on the steam drum.
I think that Charlie was tired of me talk to him about this when it I realized that water flows much slower through a tube than steam.
The difference in speed is about 100 to 1.
I cut all the 1/2" OD tubes to 13.5".
I probably should have bent the 7/8" OD pipes first in order to measure things better.
In any event, there are 6 tubes per "element".
There are 14 elements.
The elements are staggered left, right, left, right, ...
The first and last element on each side are lower.
The angle of the 1/2" tubes is 5 degrees up from level.
84 1/2"OD tubes 13" long (1/23/2011)
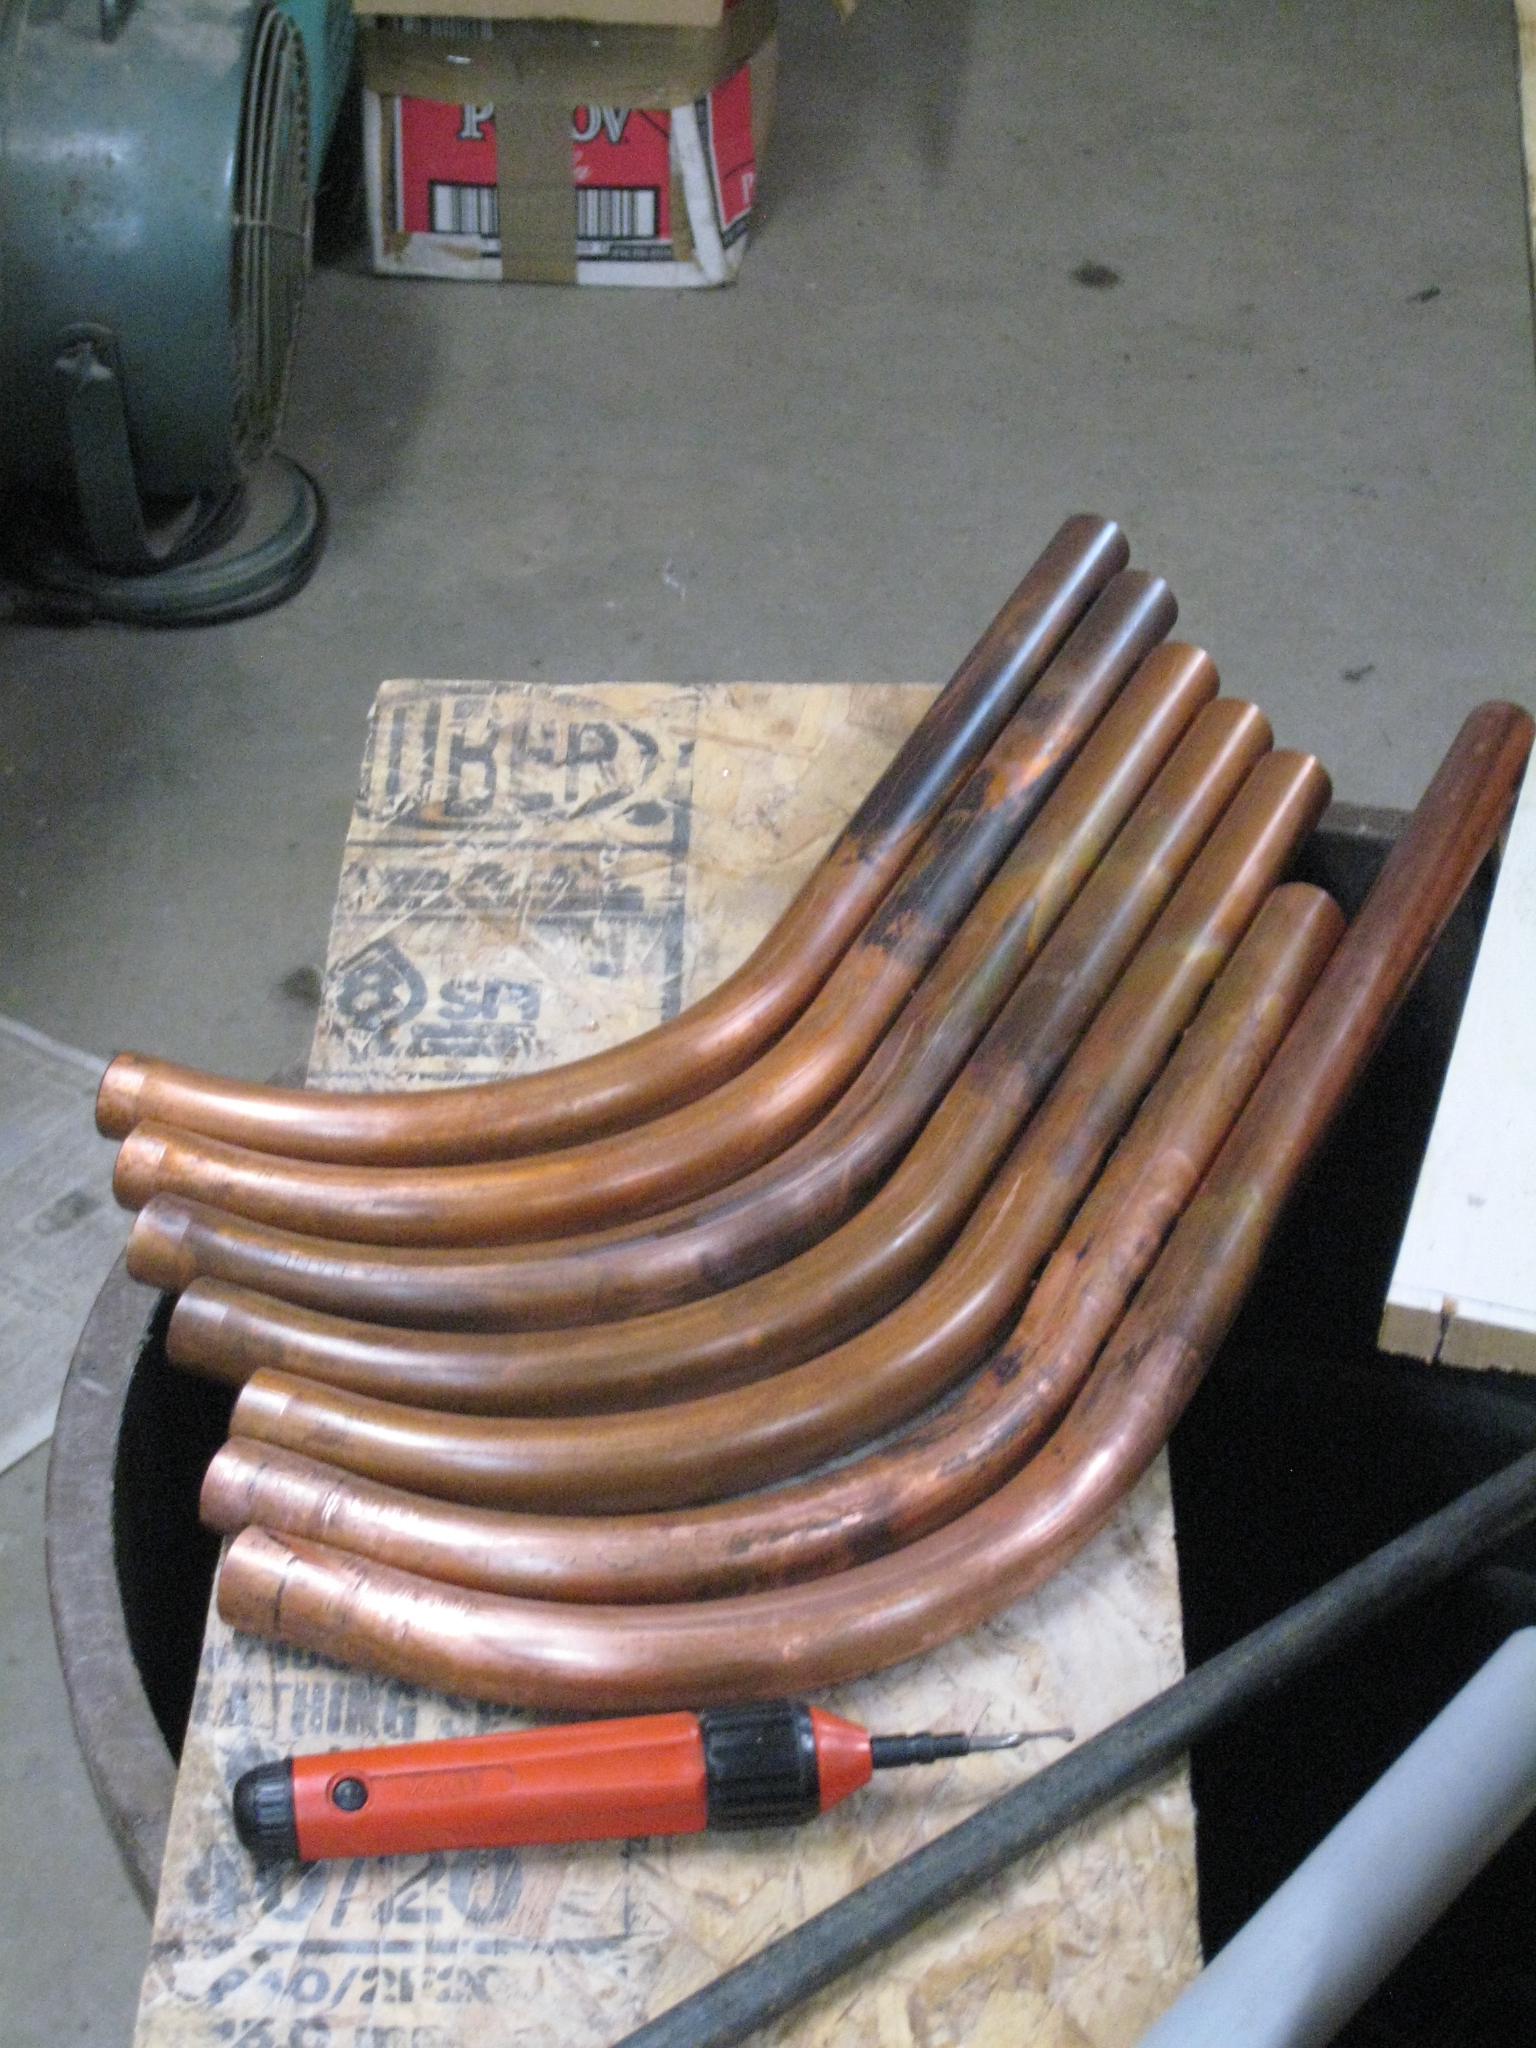
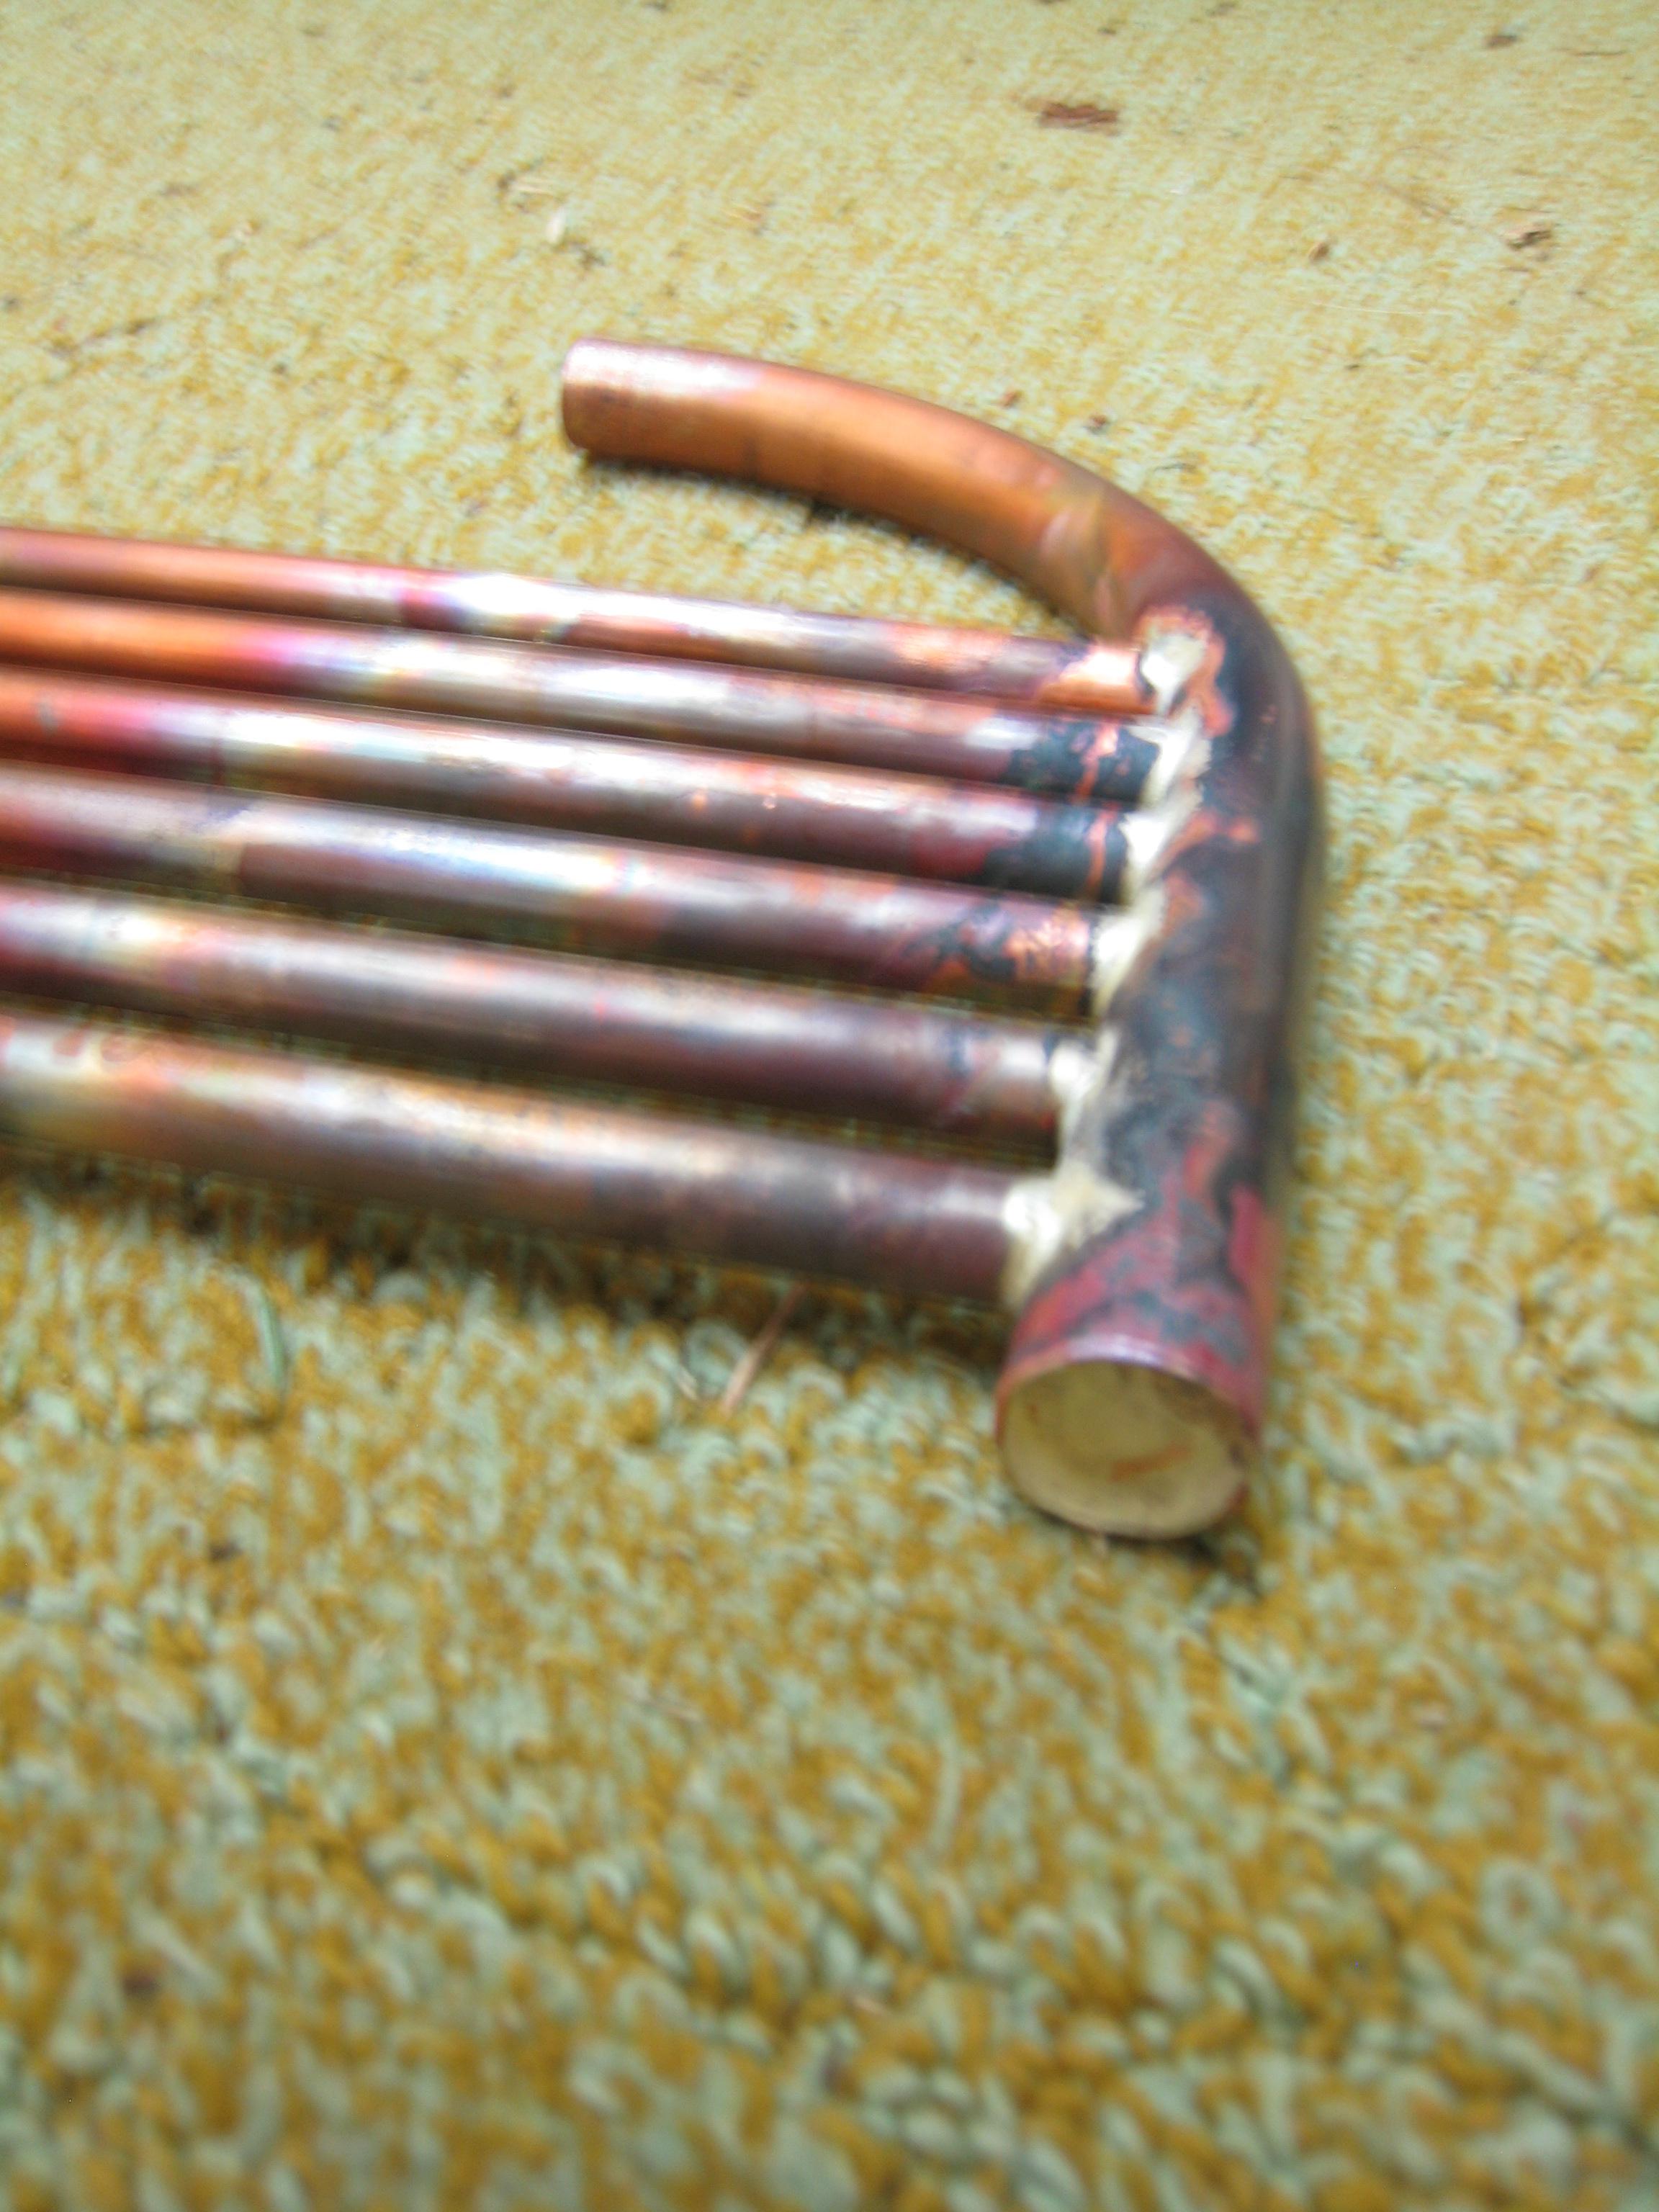
Next I bent the 7/8"OD tubes in my home made bender. The tubes were annealed with a propane torch before bending.
Bending tubes (1/23/2011)
Short bent tubes for the lower steam drum connection (1/23/2011)
Long bent tubes for the top steam drum connection (1/23/2011)
Short bent tubes for the lower steam drum connection (1/23/2011)
Long bent tubes for the top steam drum connection (1/23/2011)
Boring the holes in the 7/8"OD tubes coming up from the Mud Drums was about the same.
Boring holes in the bottom tubes (1/27/2011)
Making the plugs for the ends of the 7/8"OD tubes was time consuming since very light cuts need to be used. Ten flat pieces of copper are squeezed together with pressure from the tail stock. Needless to say they occasionally slip out of alignment. Also the wood loosens up so must be retightened regularly.
Turning 10 plugs to tube ID (1/29/2011)
Plugs (1/29/2011)
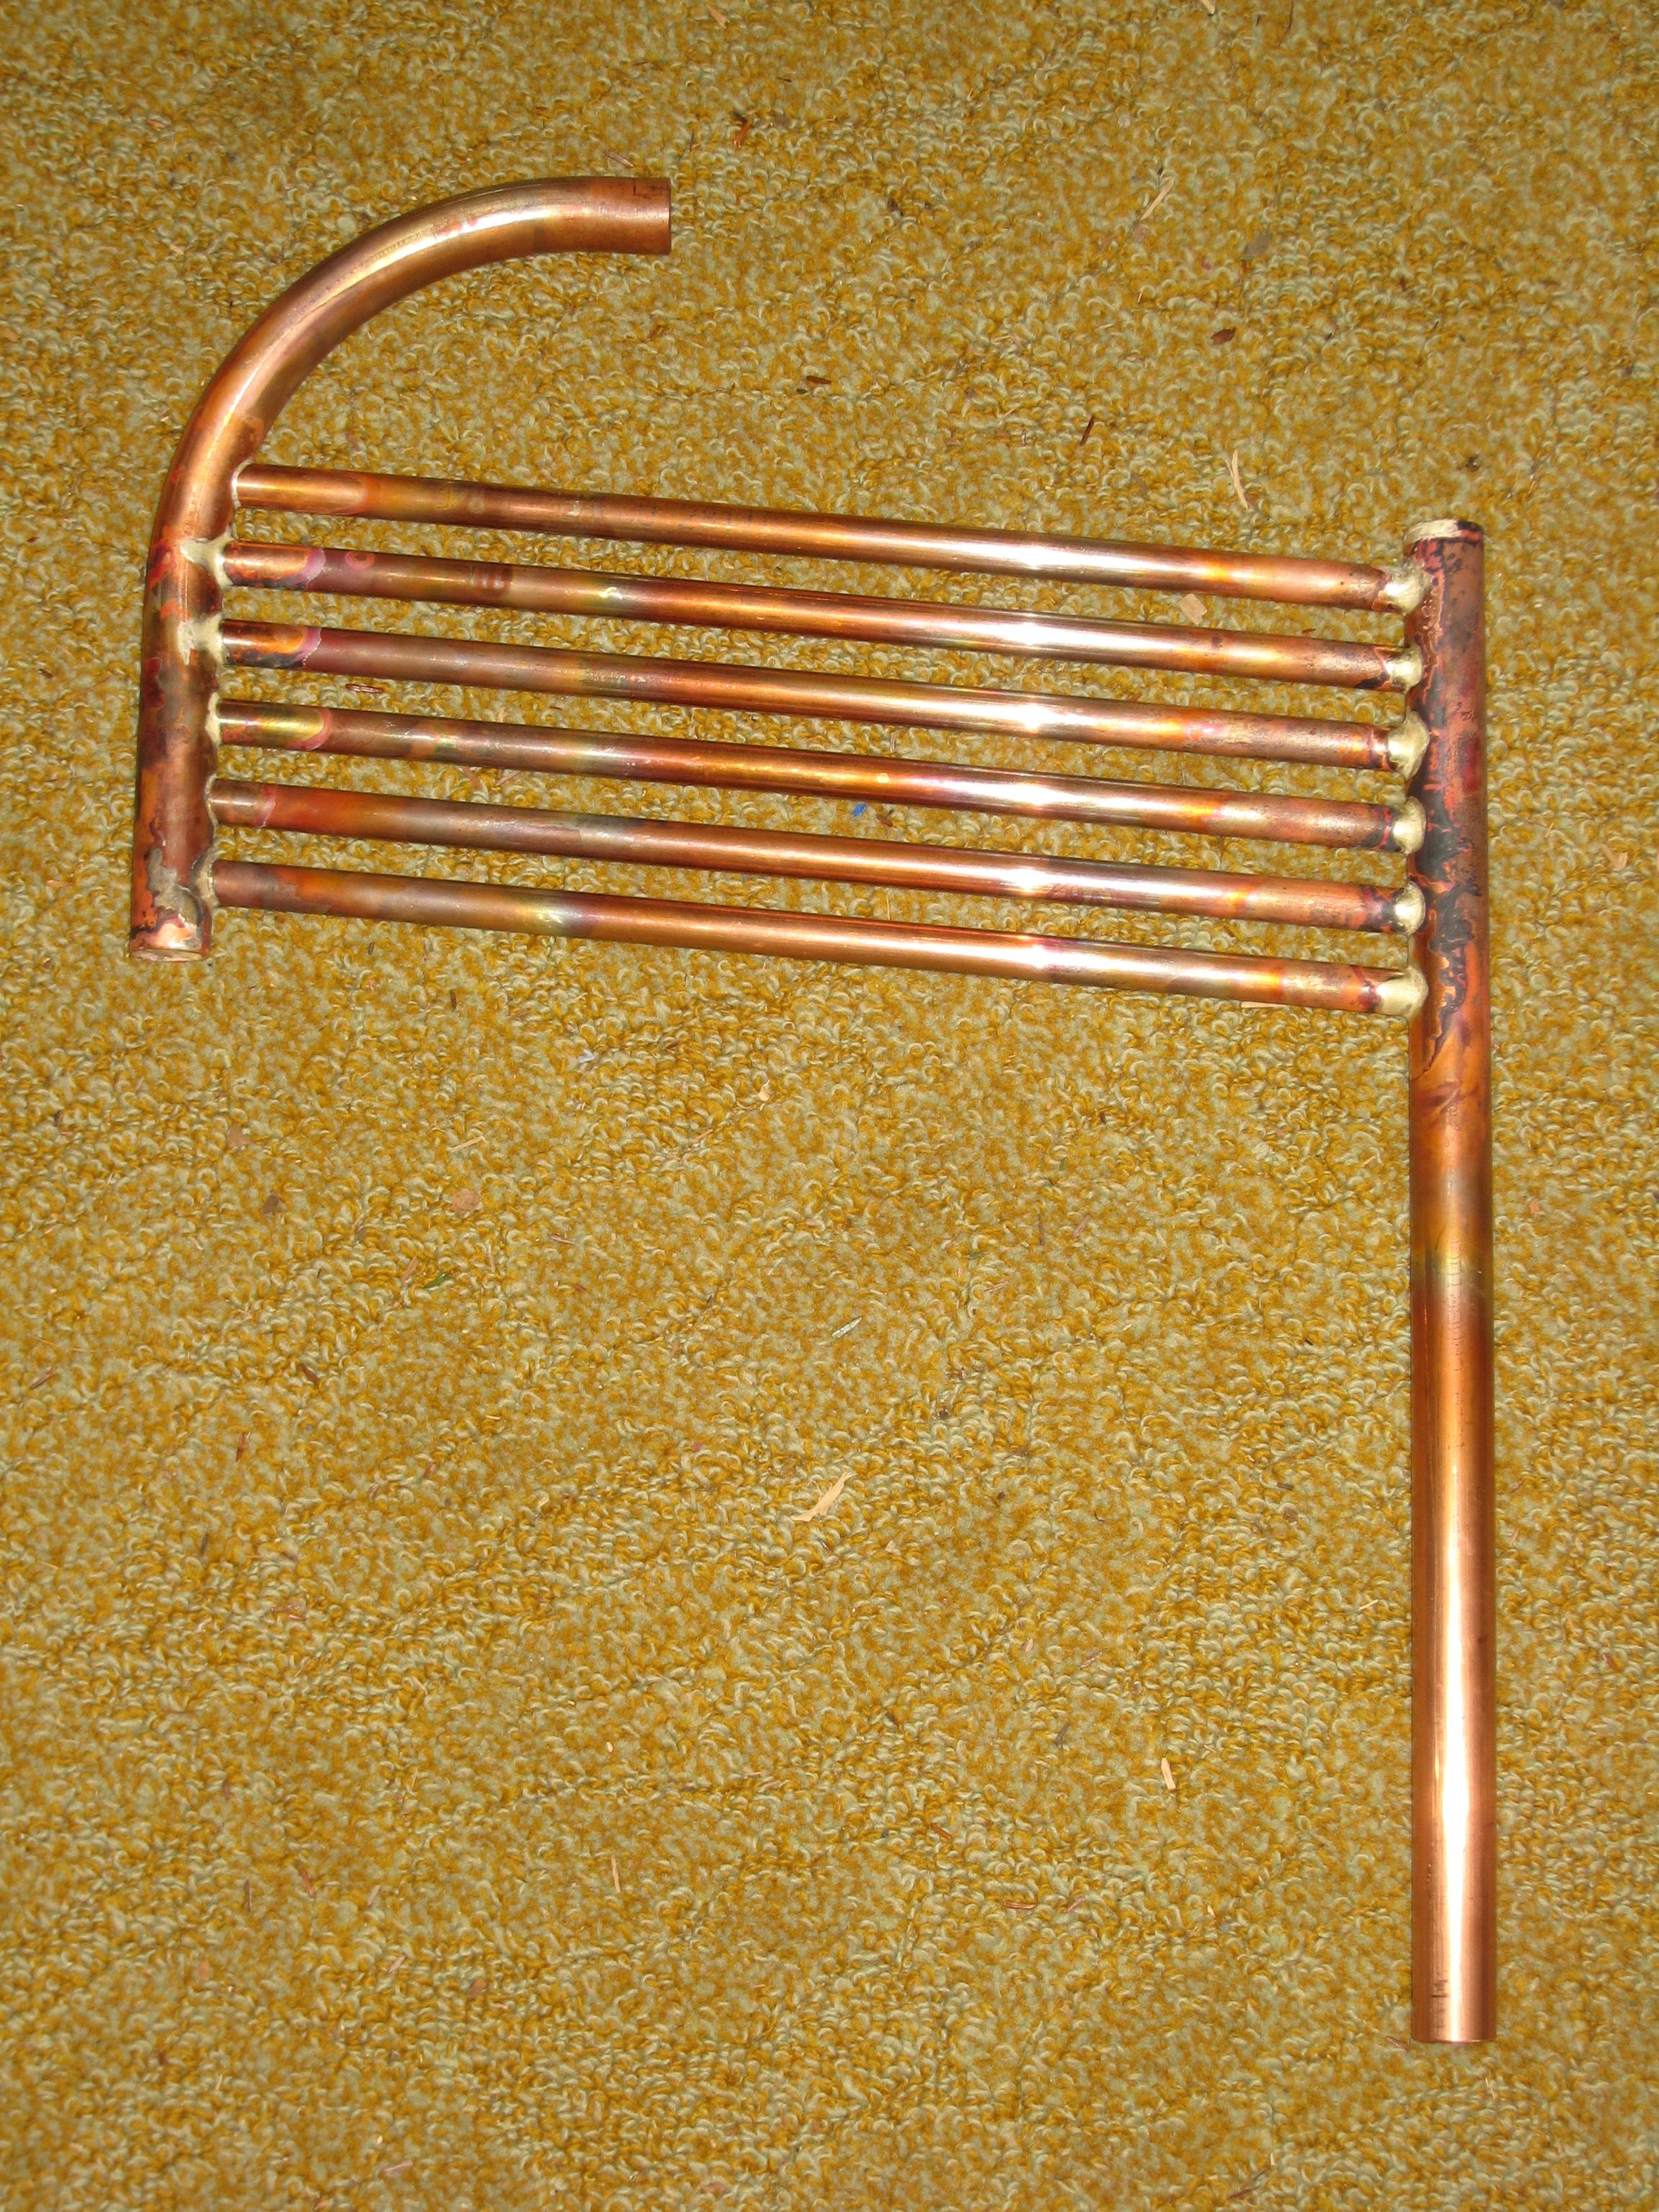
Here is what an element will look like once it is silver soldered together.
I am making up 8 like this and 6 with shorter bent tubes (plus a spare of each).
Fitted element (1/29/2011)
After a lot more cutting, boring and cleaning up the burs on the ends of the tubing, I am finally ready to silver solder some pieces together. On my previous boiler I used a small "B2" tank of acetylene (without oxygen) to silver solder the elements together. I thought I would try just propane, but quickly found it was not hot enough.
So I put the #2 tip on the torch and found my technique was not as good as it had been in the 90s when I made the my previous boiler.
Melted a hole on my first joint silver soldered... (1/30/2011)
I then tried several sample pieces to get my technique improved.
Unfortunately, after 10 joints, I was only getting 50% success at creating a good joint.
As you can imagine this is not nearly good enough to make a boiler.
As it turned out, the flux was the problem.
I then bought both white and black flux, Harris Stay-Silv.
I had used the white flux on my last boiler with good success.
The black flux has a wider temperature range.
My next 7 or 8 practice joints were all good.
First Element (3/10/2011)
First Element (3/10/2011)
First Element (3/10/2011)
Here is how the Element is assembled.
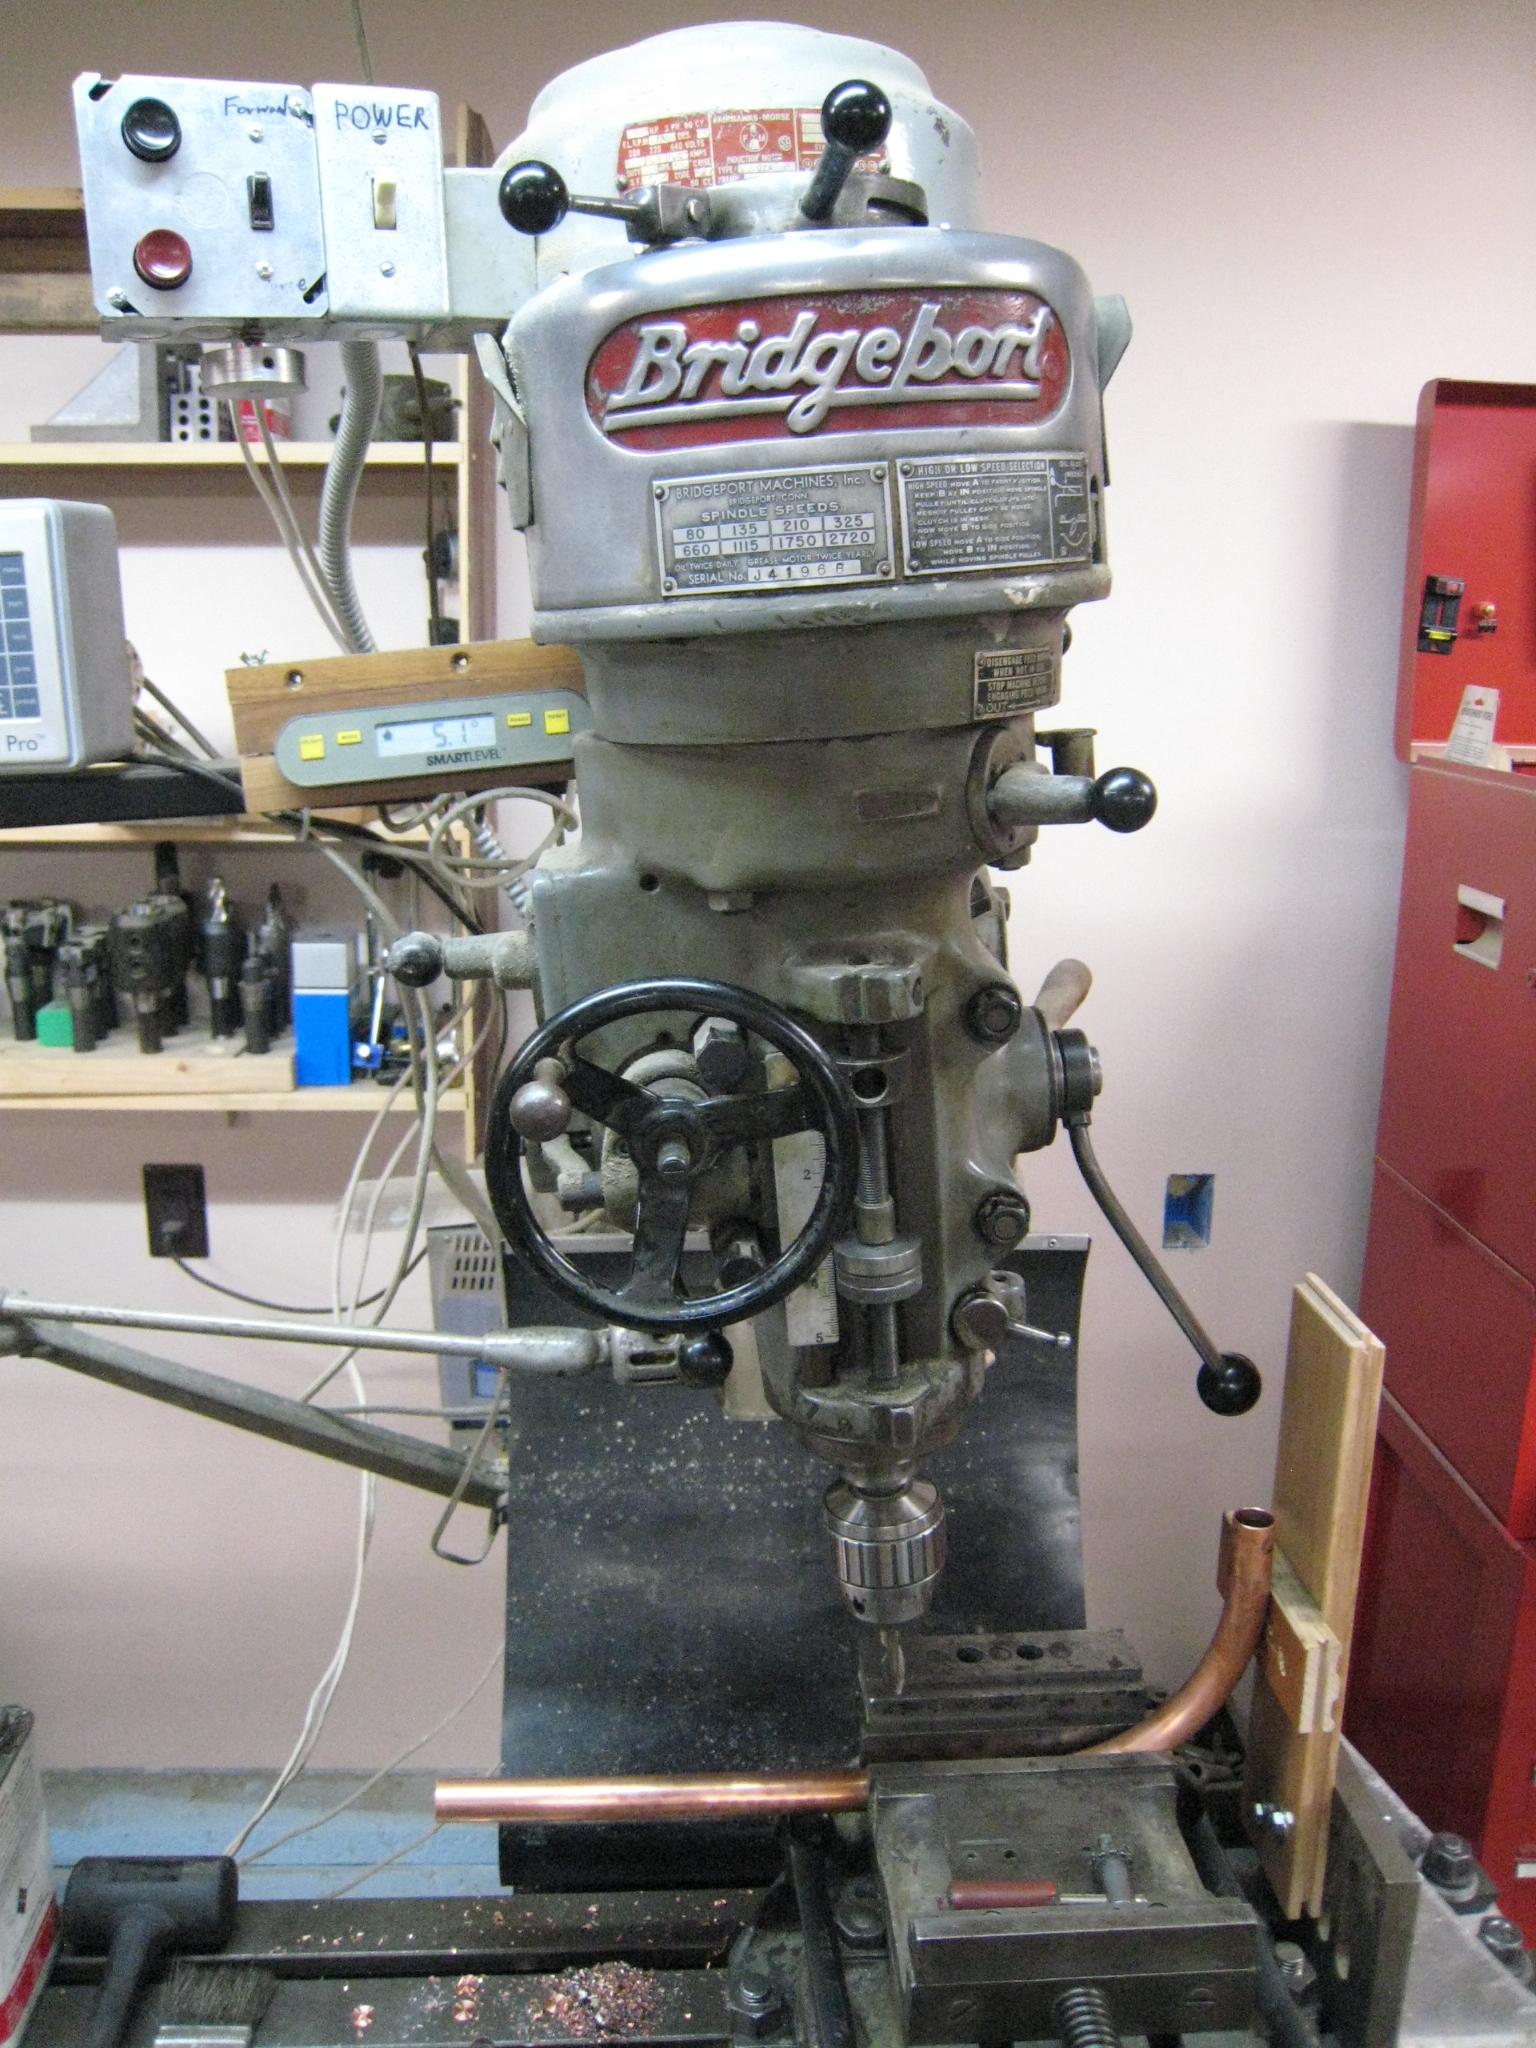
I drilled and then bored the holes in the 6" drum next. The off center holes were started with a center drill and then enlarged with end mills.
Since the 6" tube was clamped into the slot for the "T" nuts on the milling machine, there was some flexing and shaking of the tube.
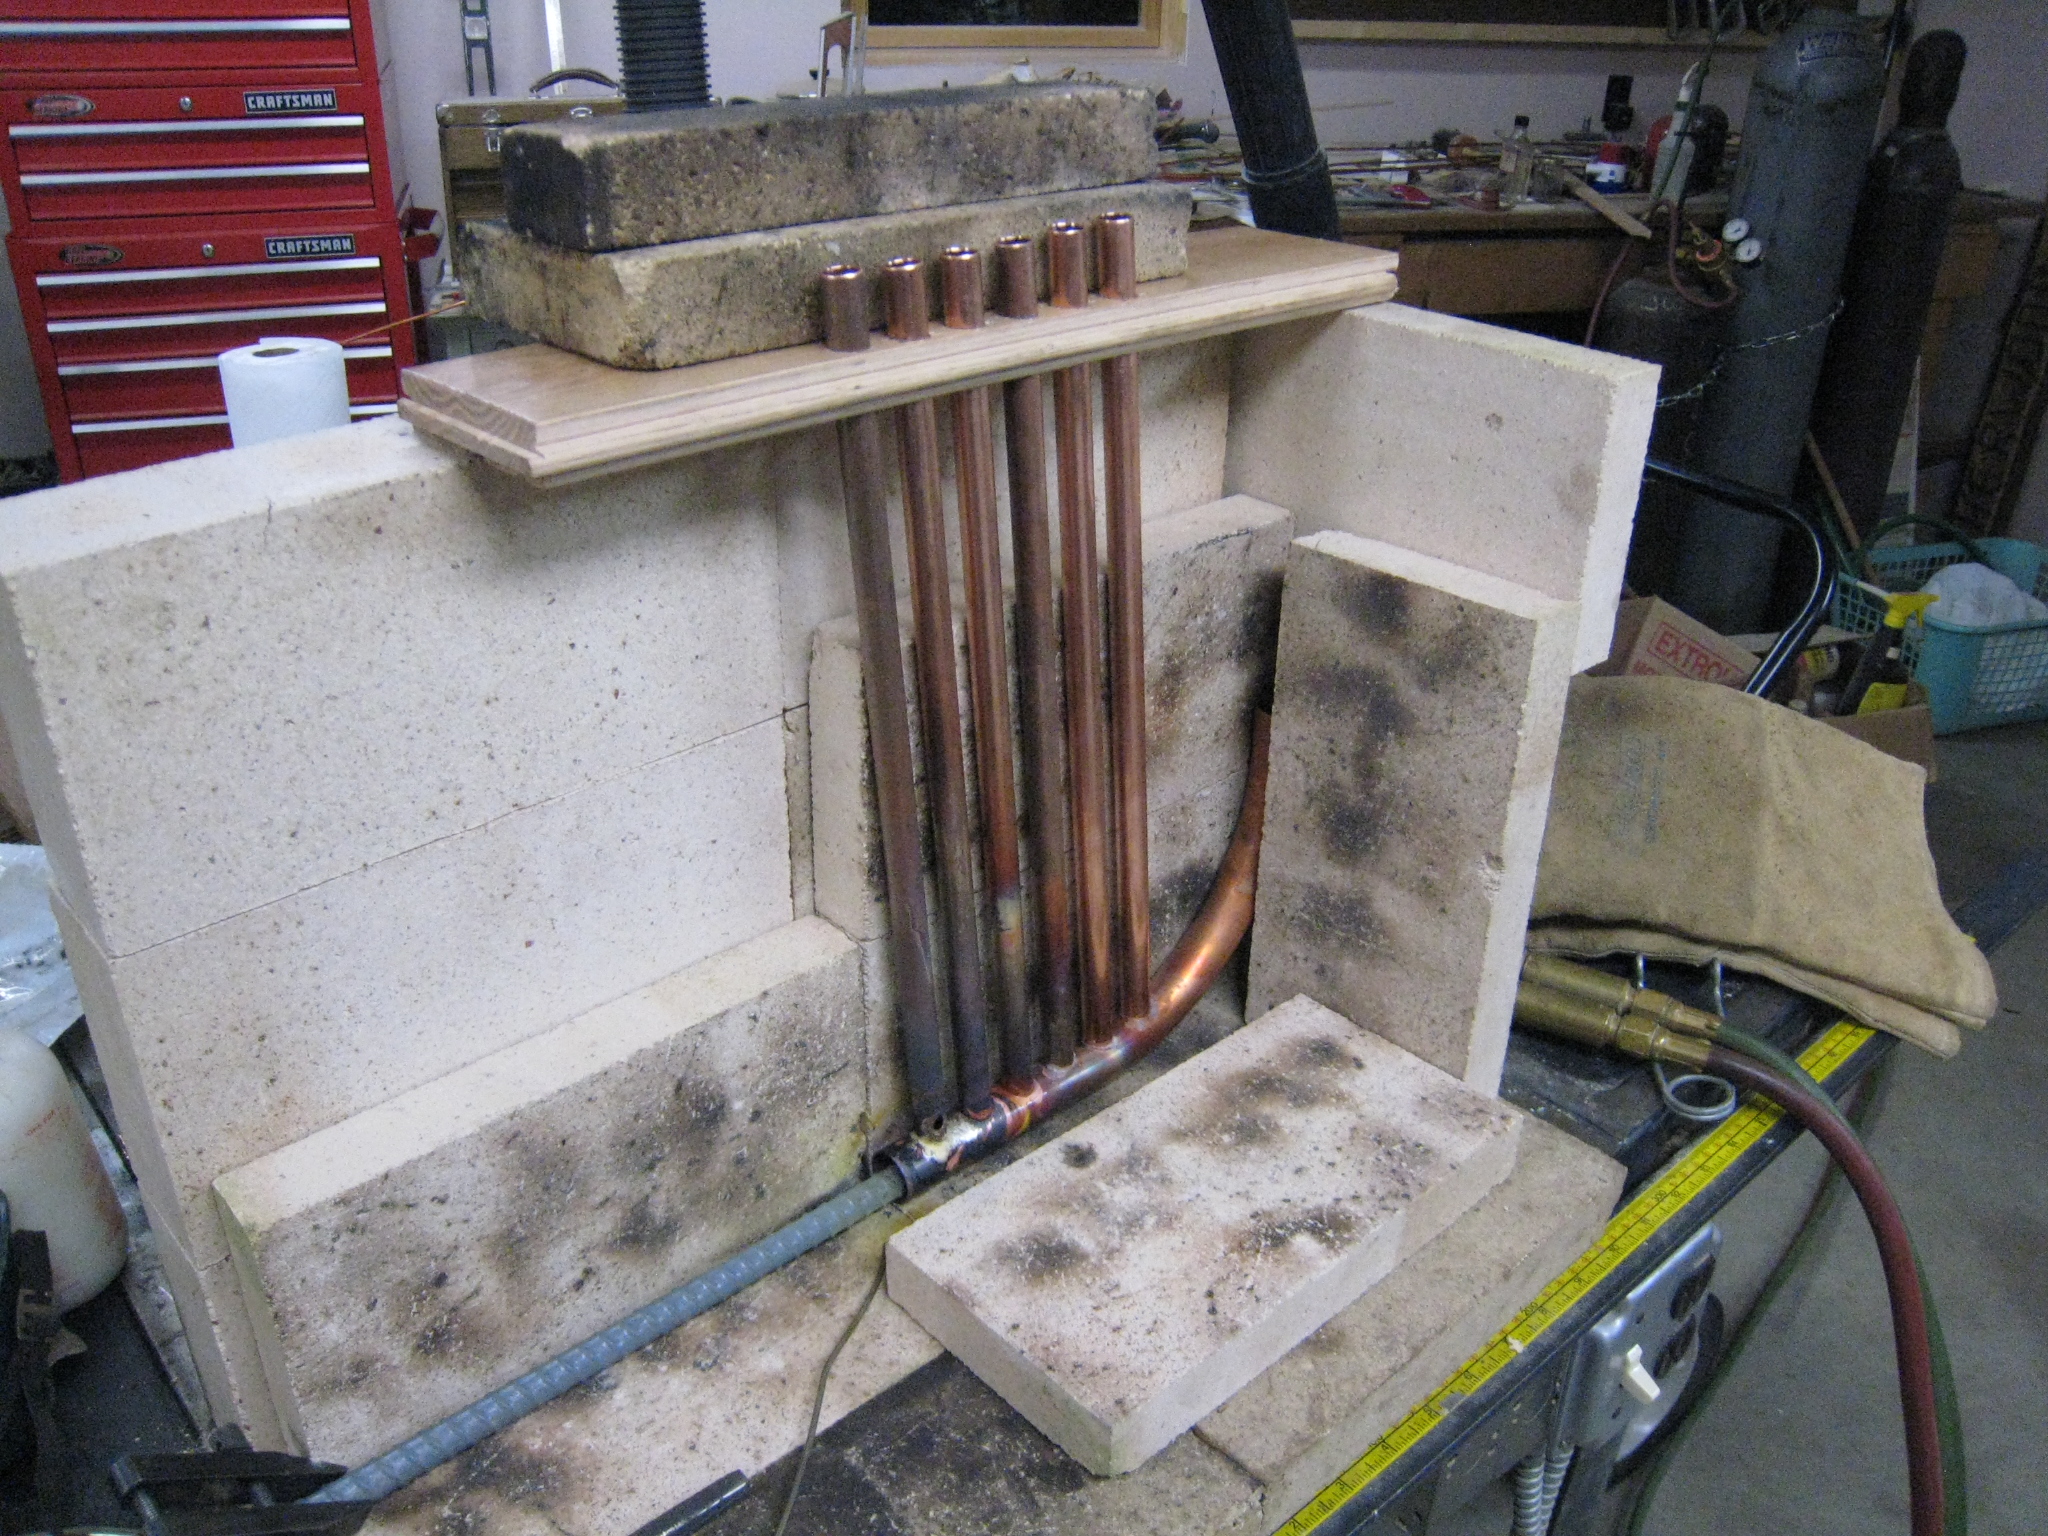
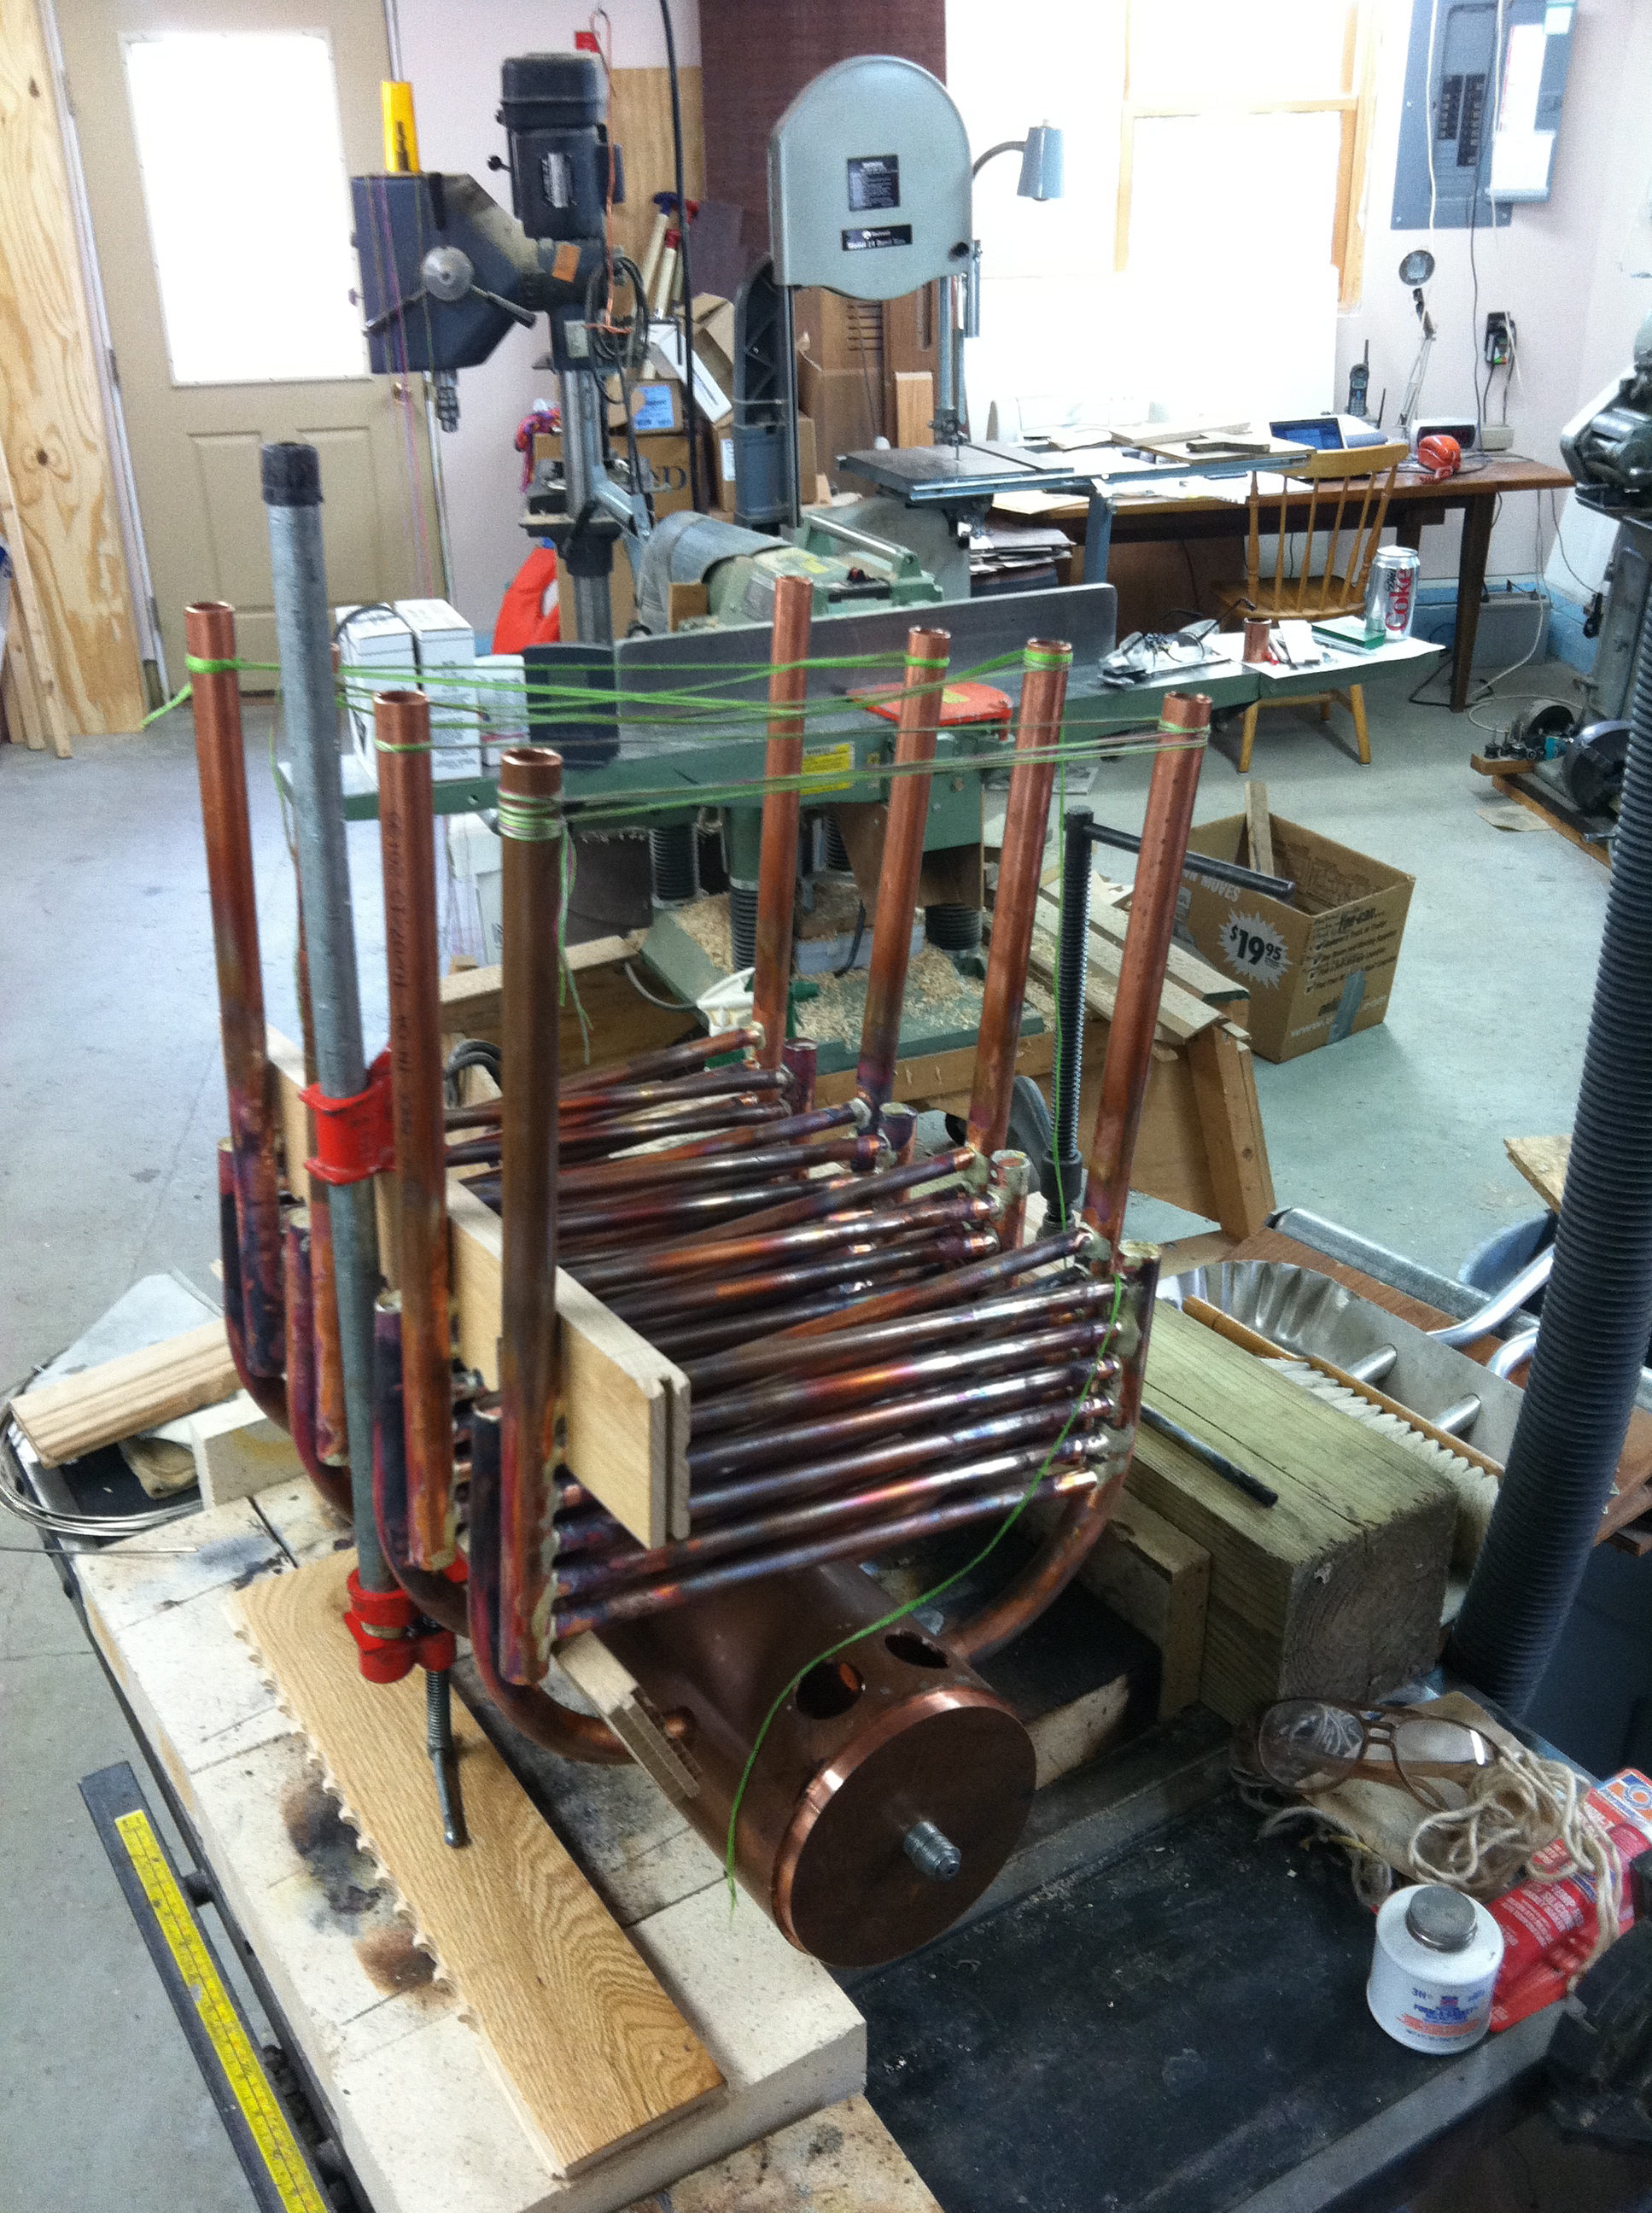
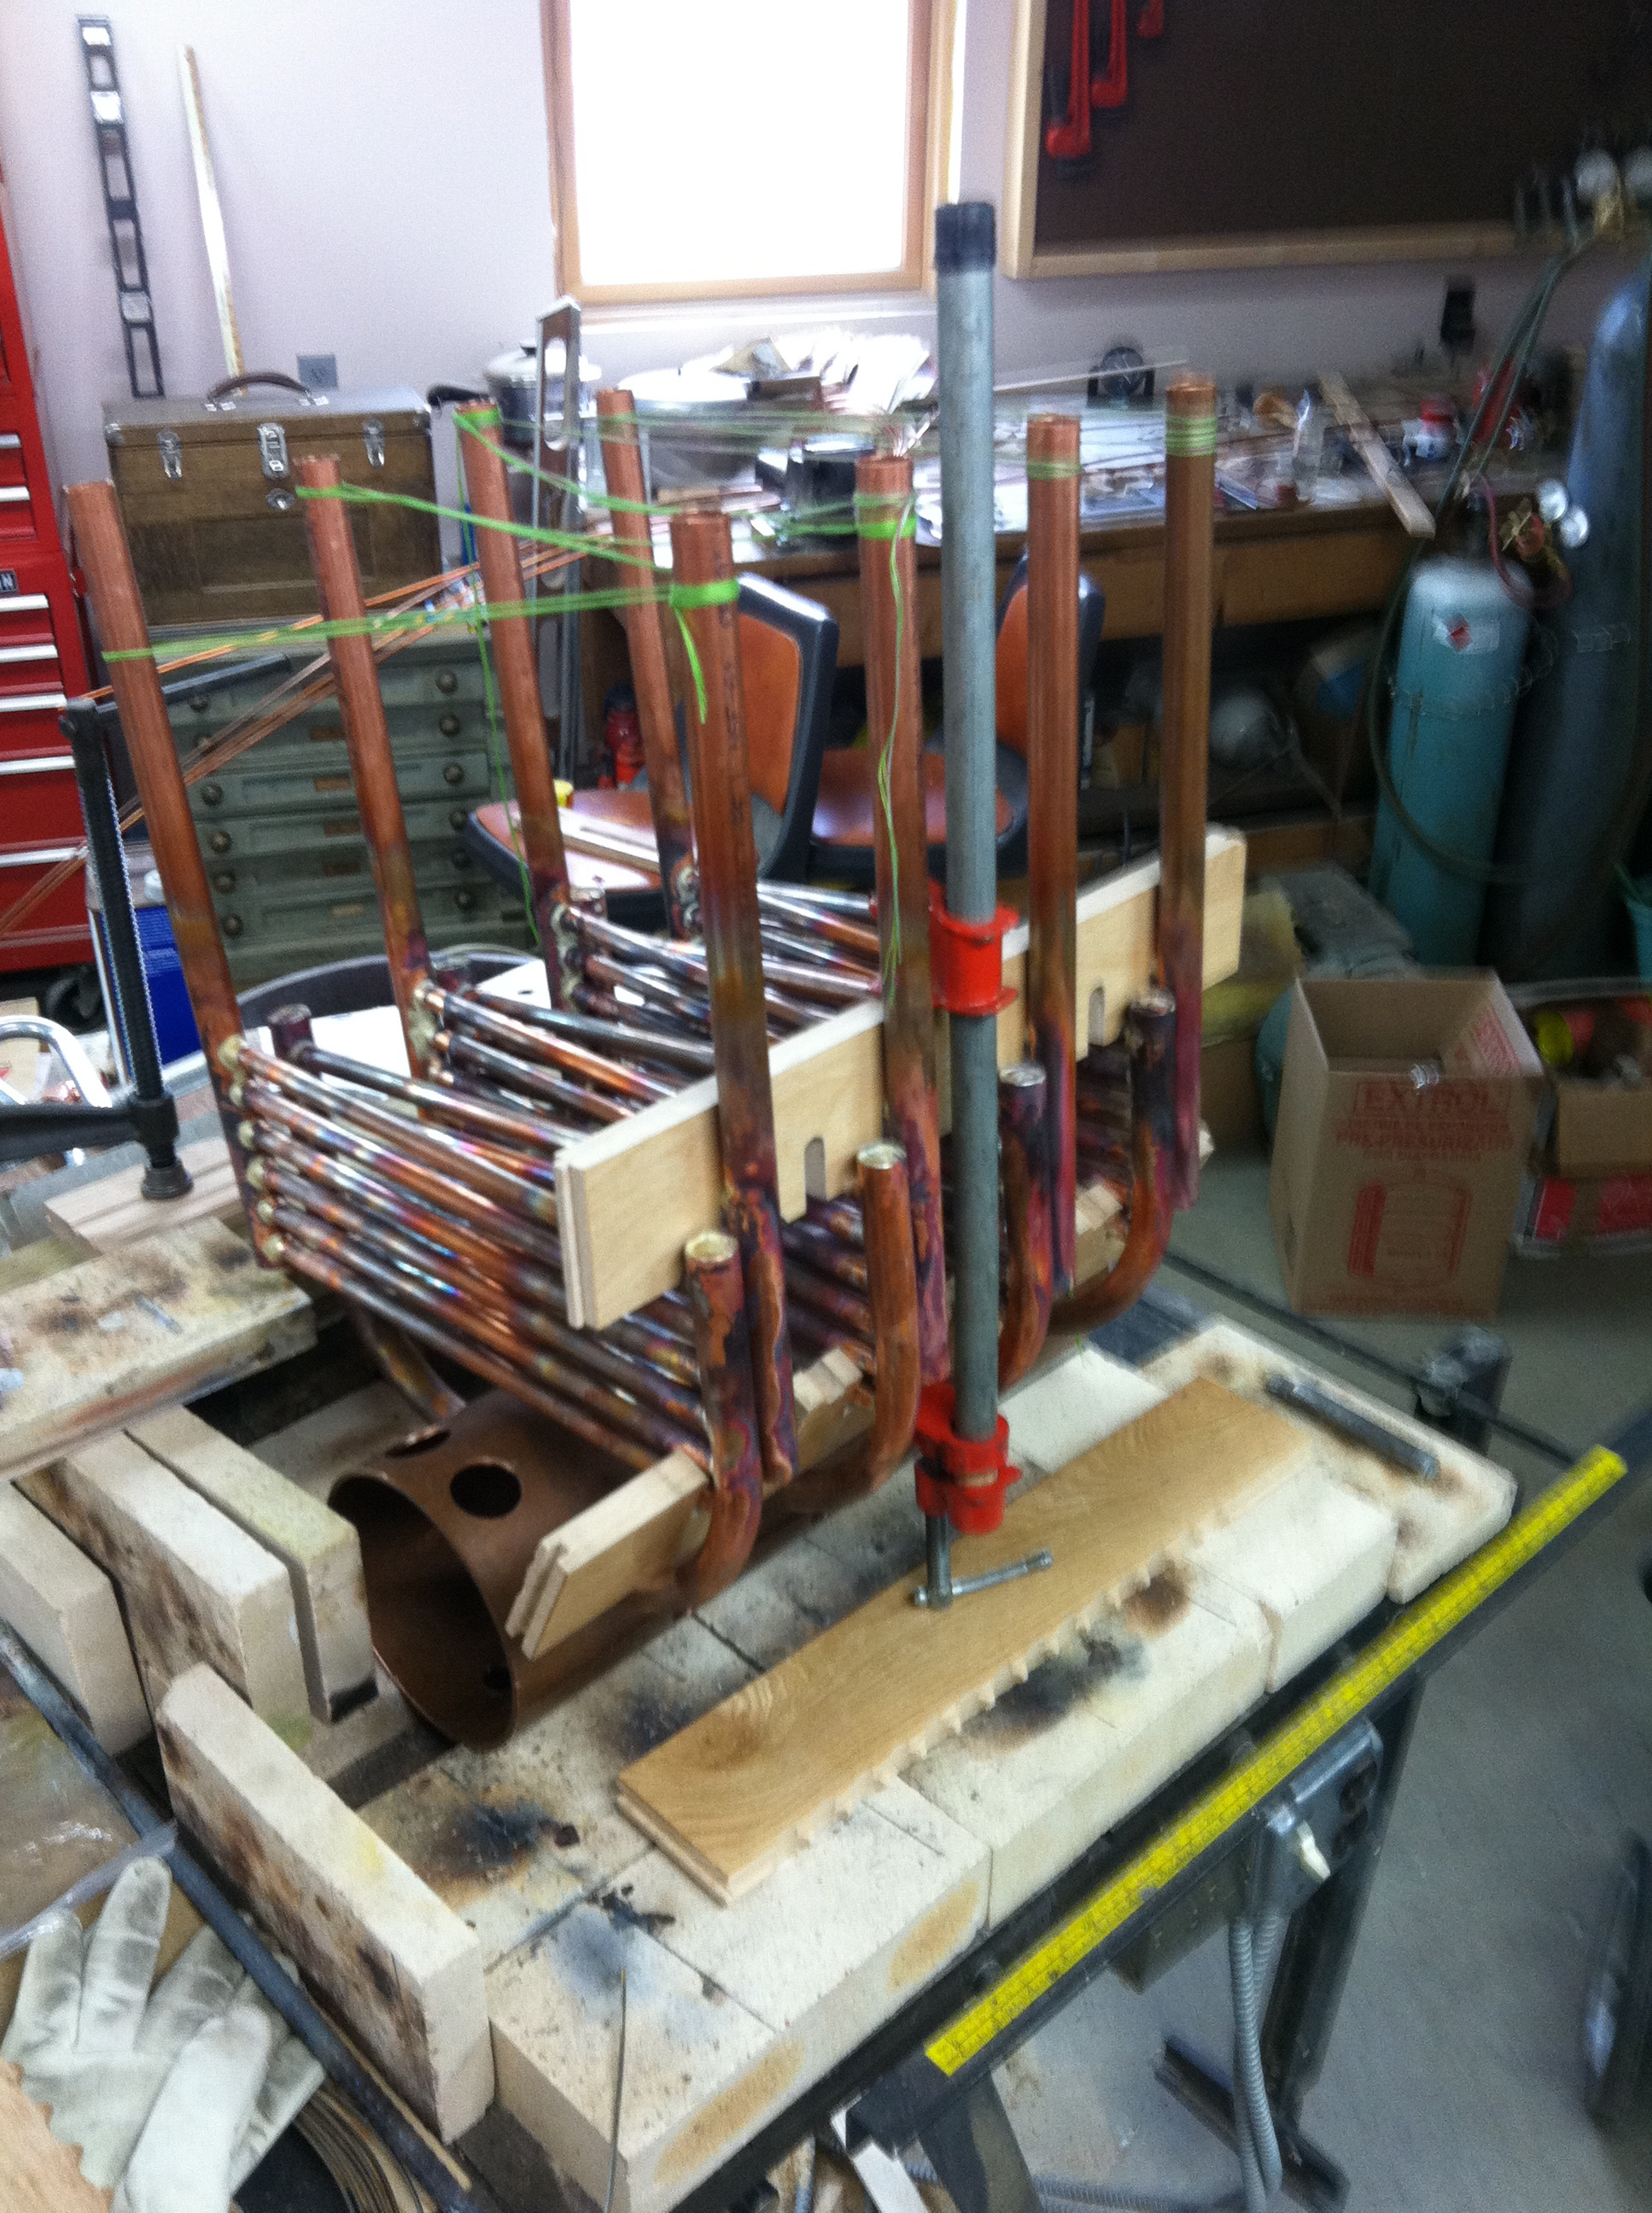
Here is the initial assembly of the lower elements in the 6" drum. As you can see it is upside down.
The end plates are temporarily put into the end of the Bow of the 6" tube. Later the holes for the stays and fittings will be bored.
Pressure Vessel up side down, initial assembly of lower elements, view from the Bow (3/24/2011)
Pressure Vessel up side down, initial assembly of lower elements, view from the Stern (3/24/2011)
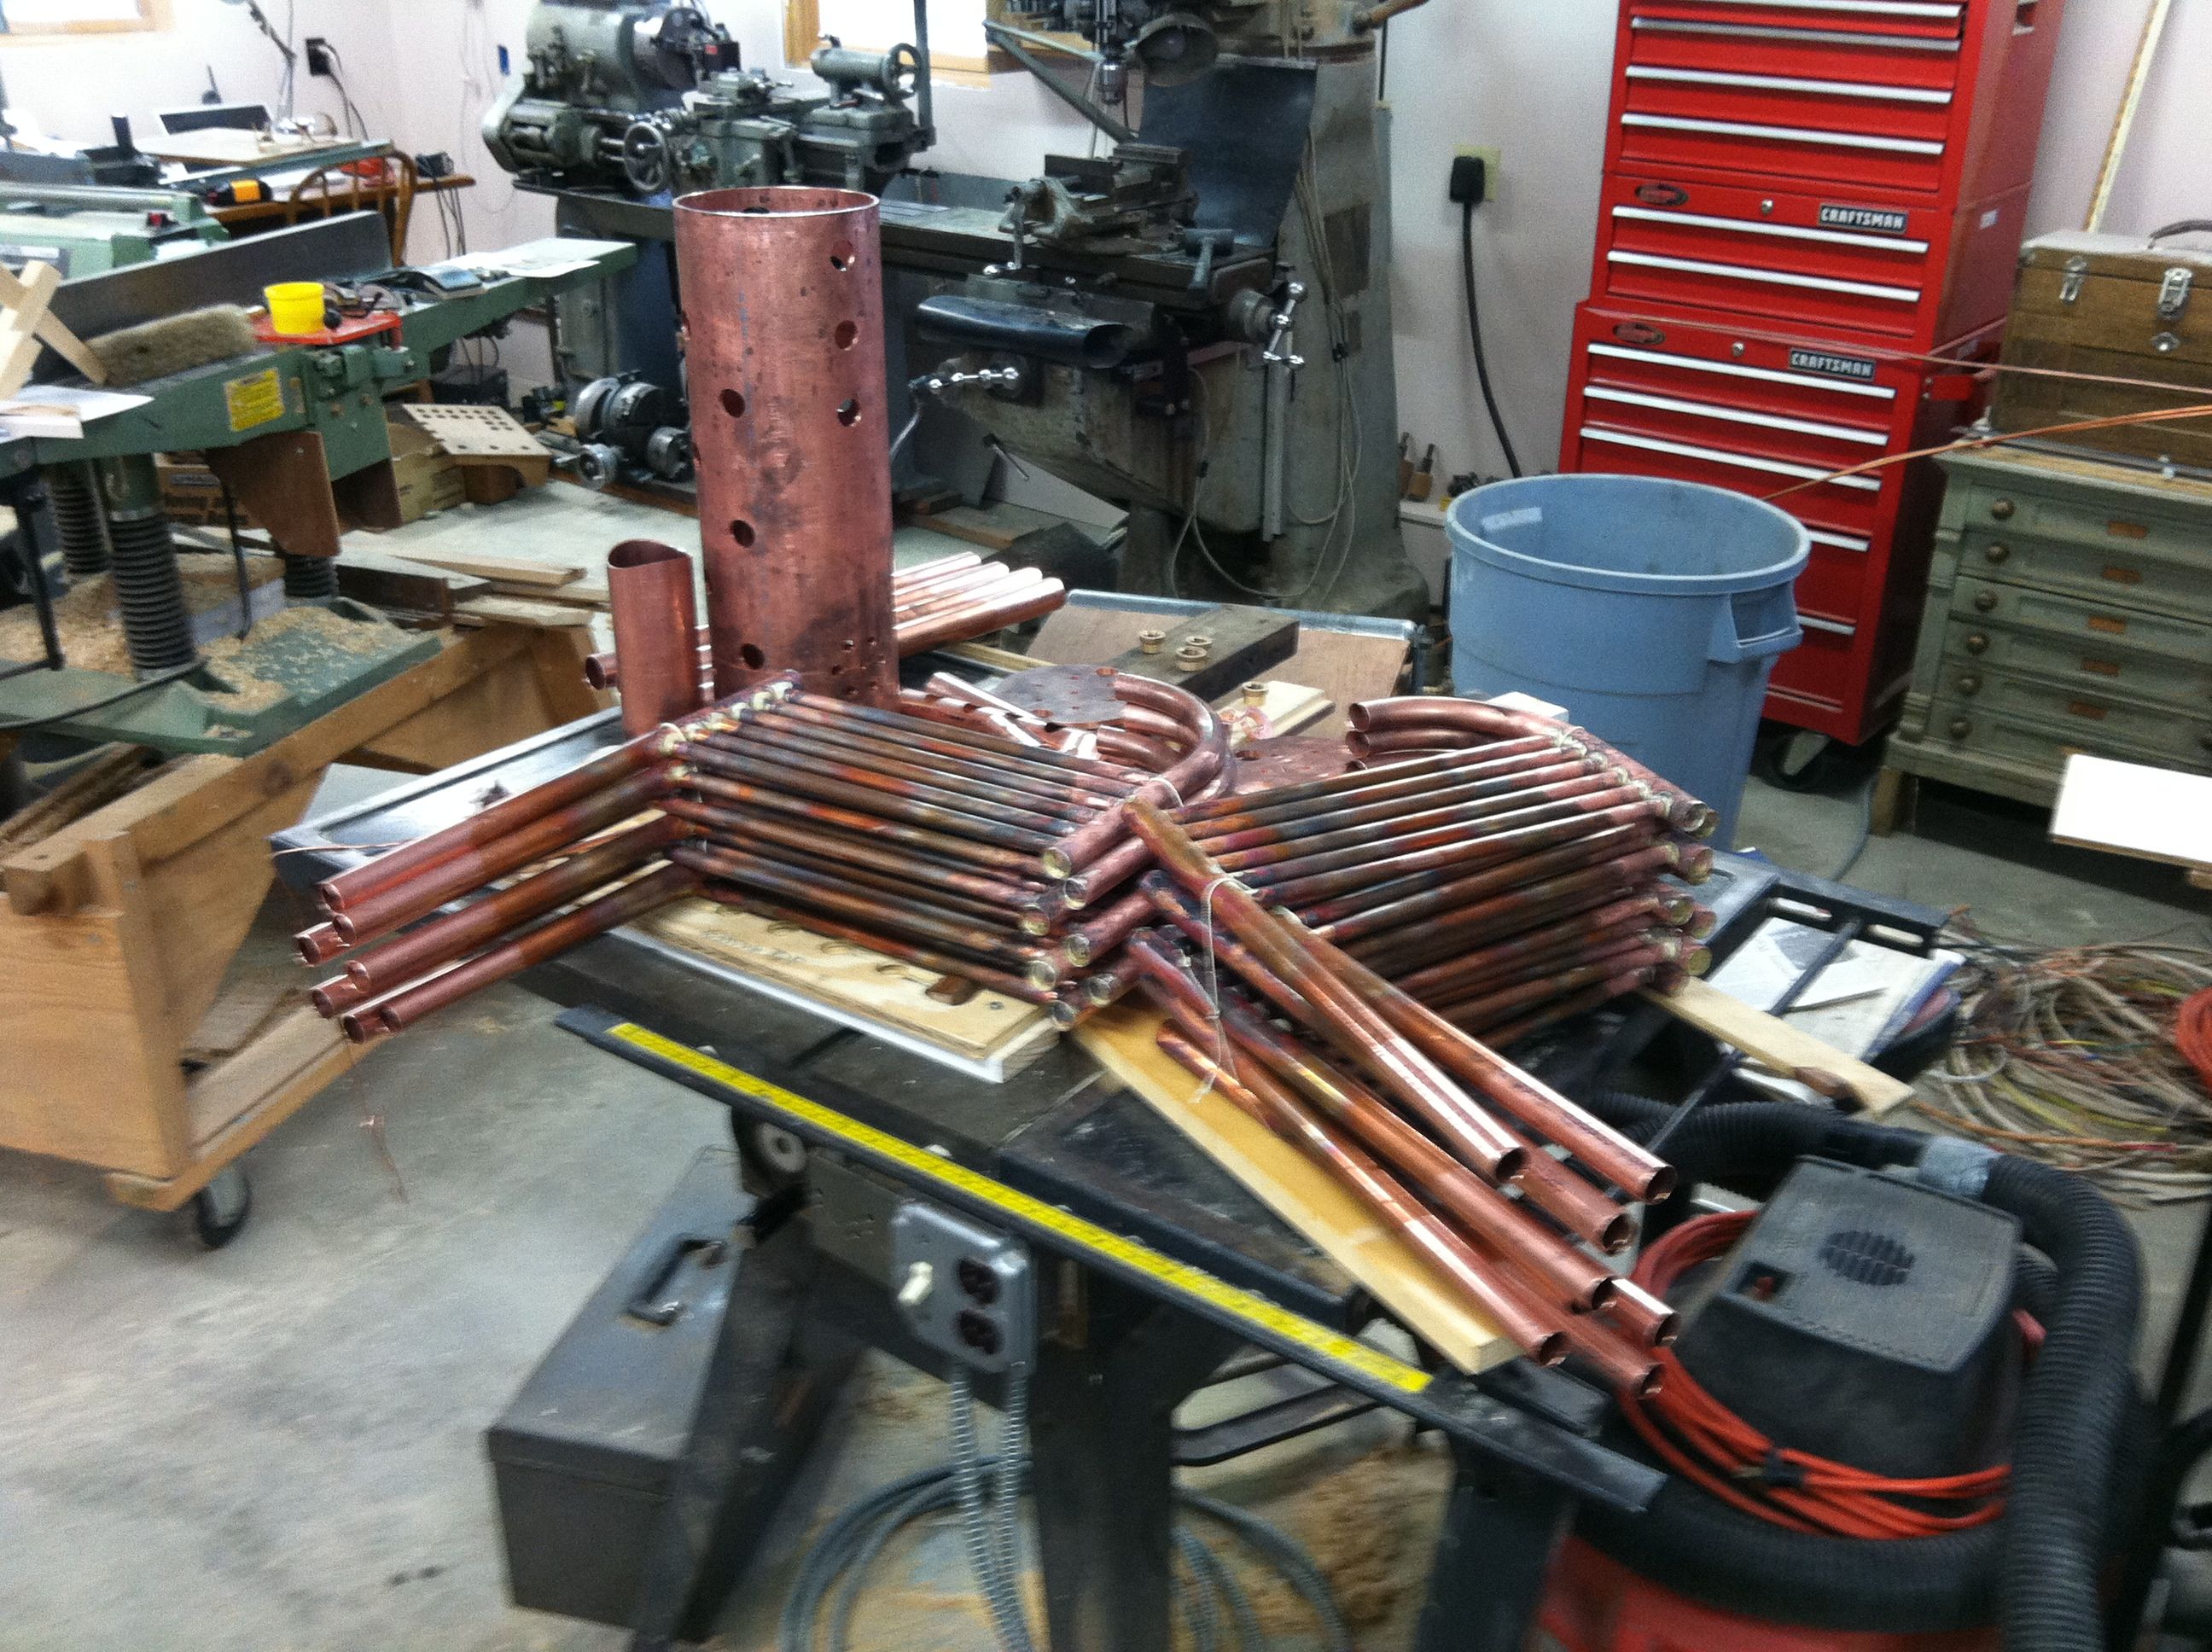
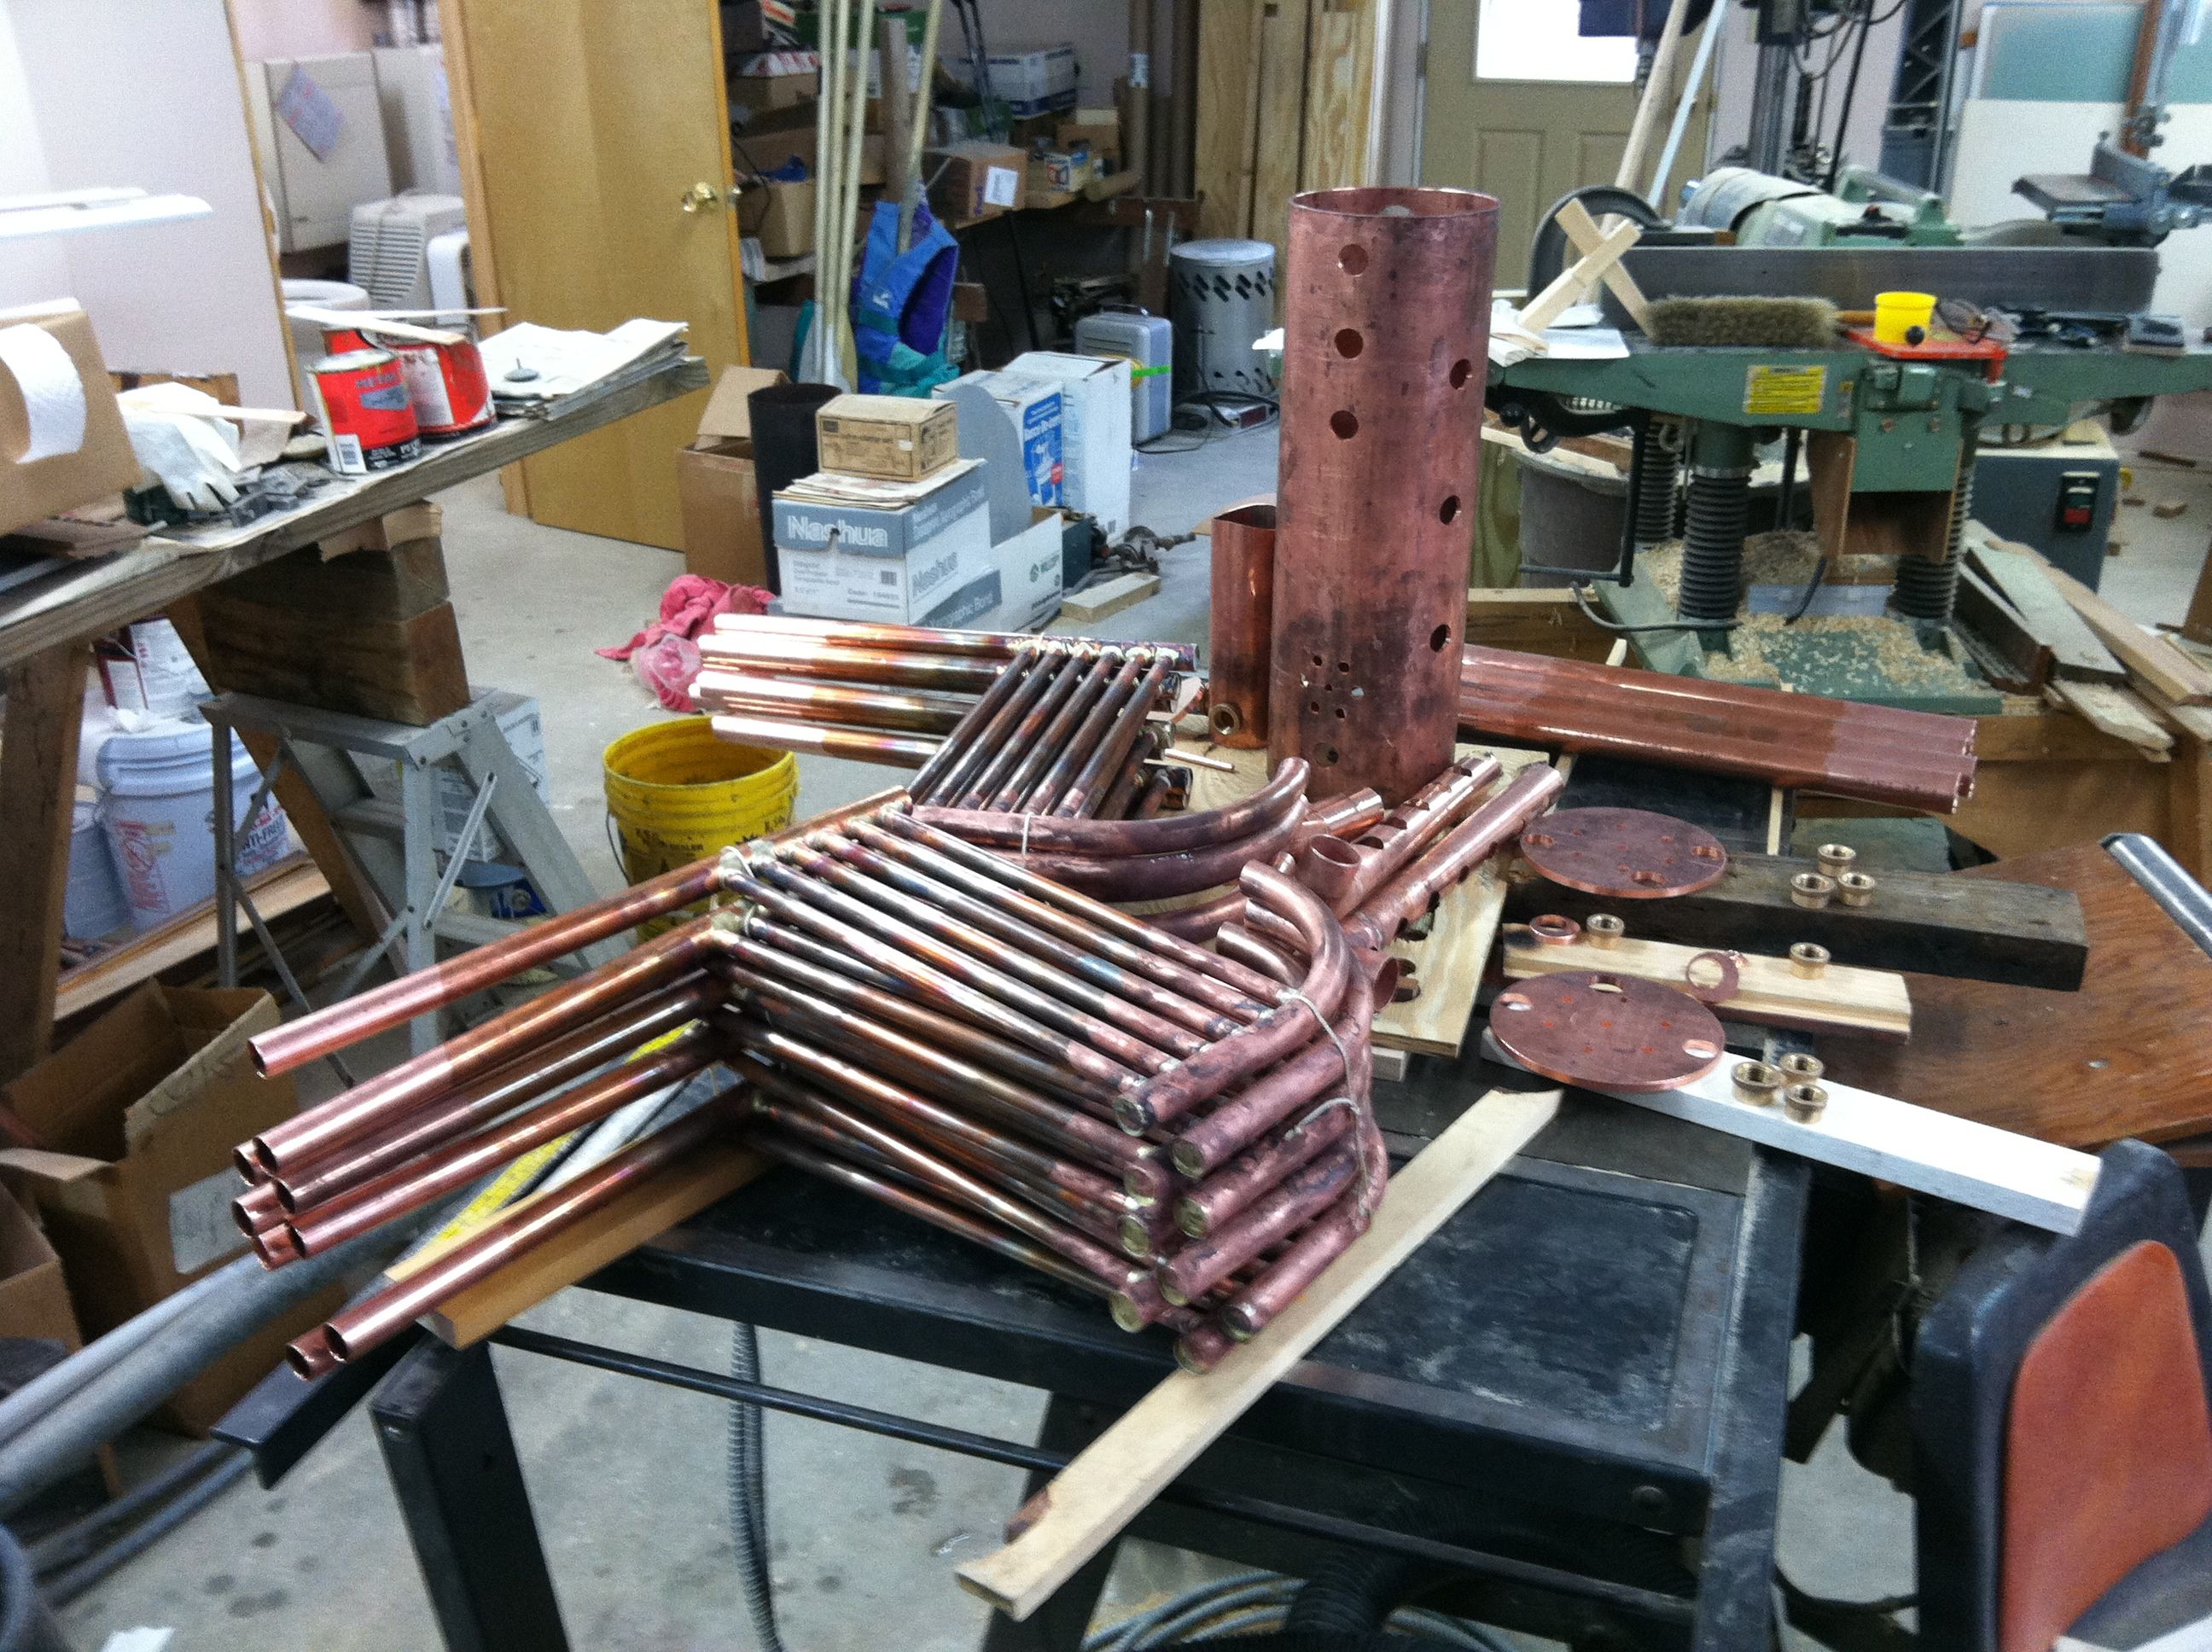
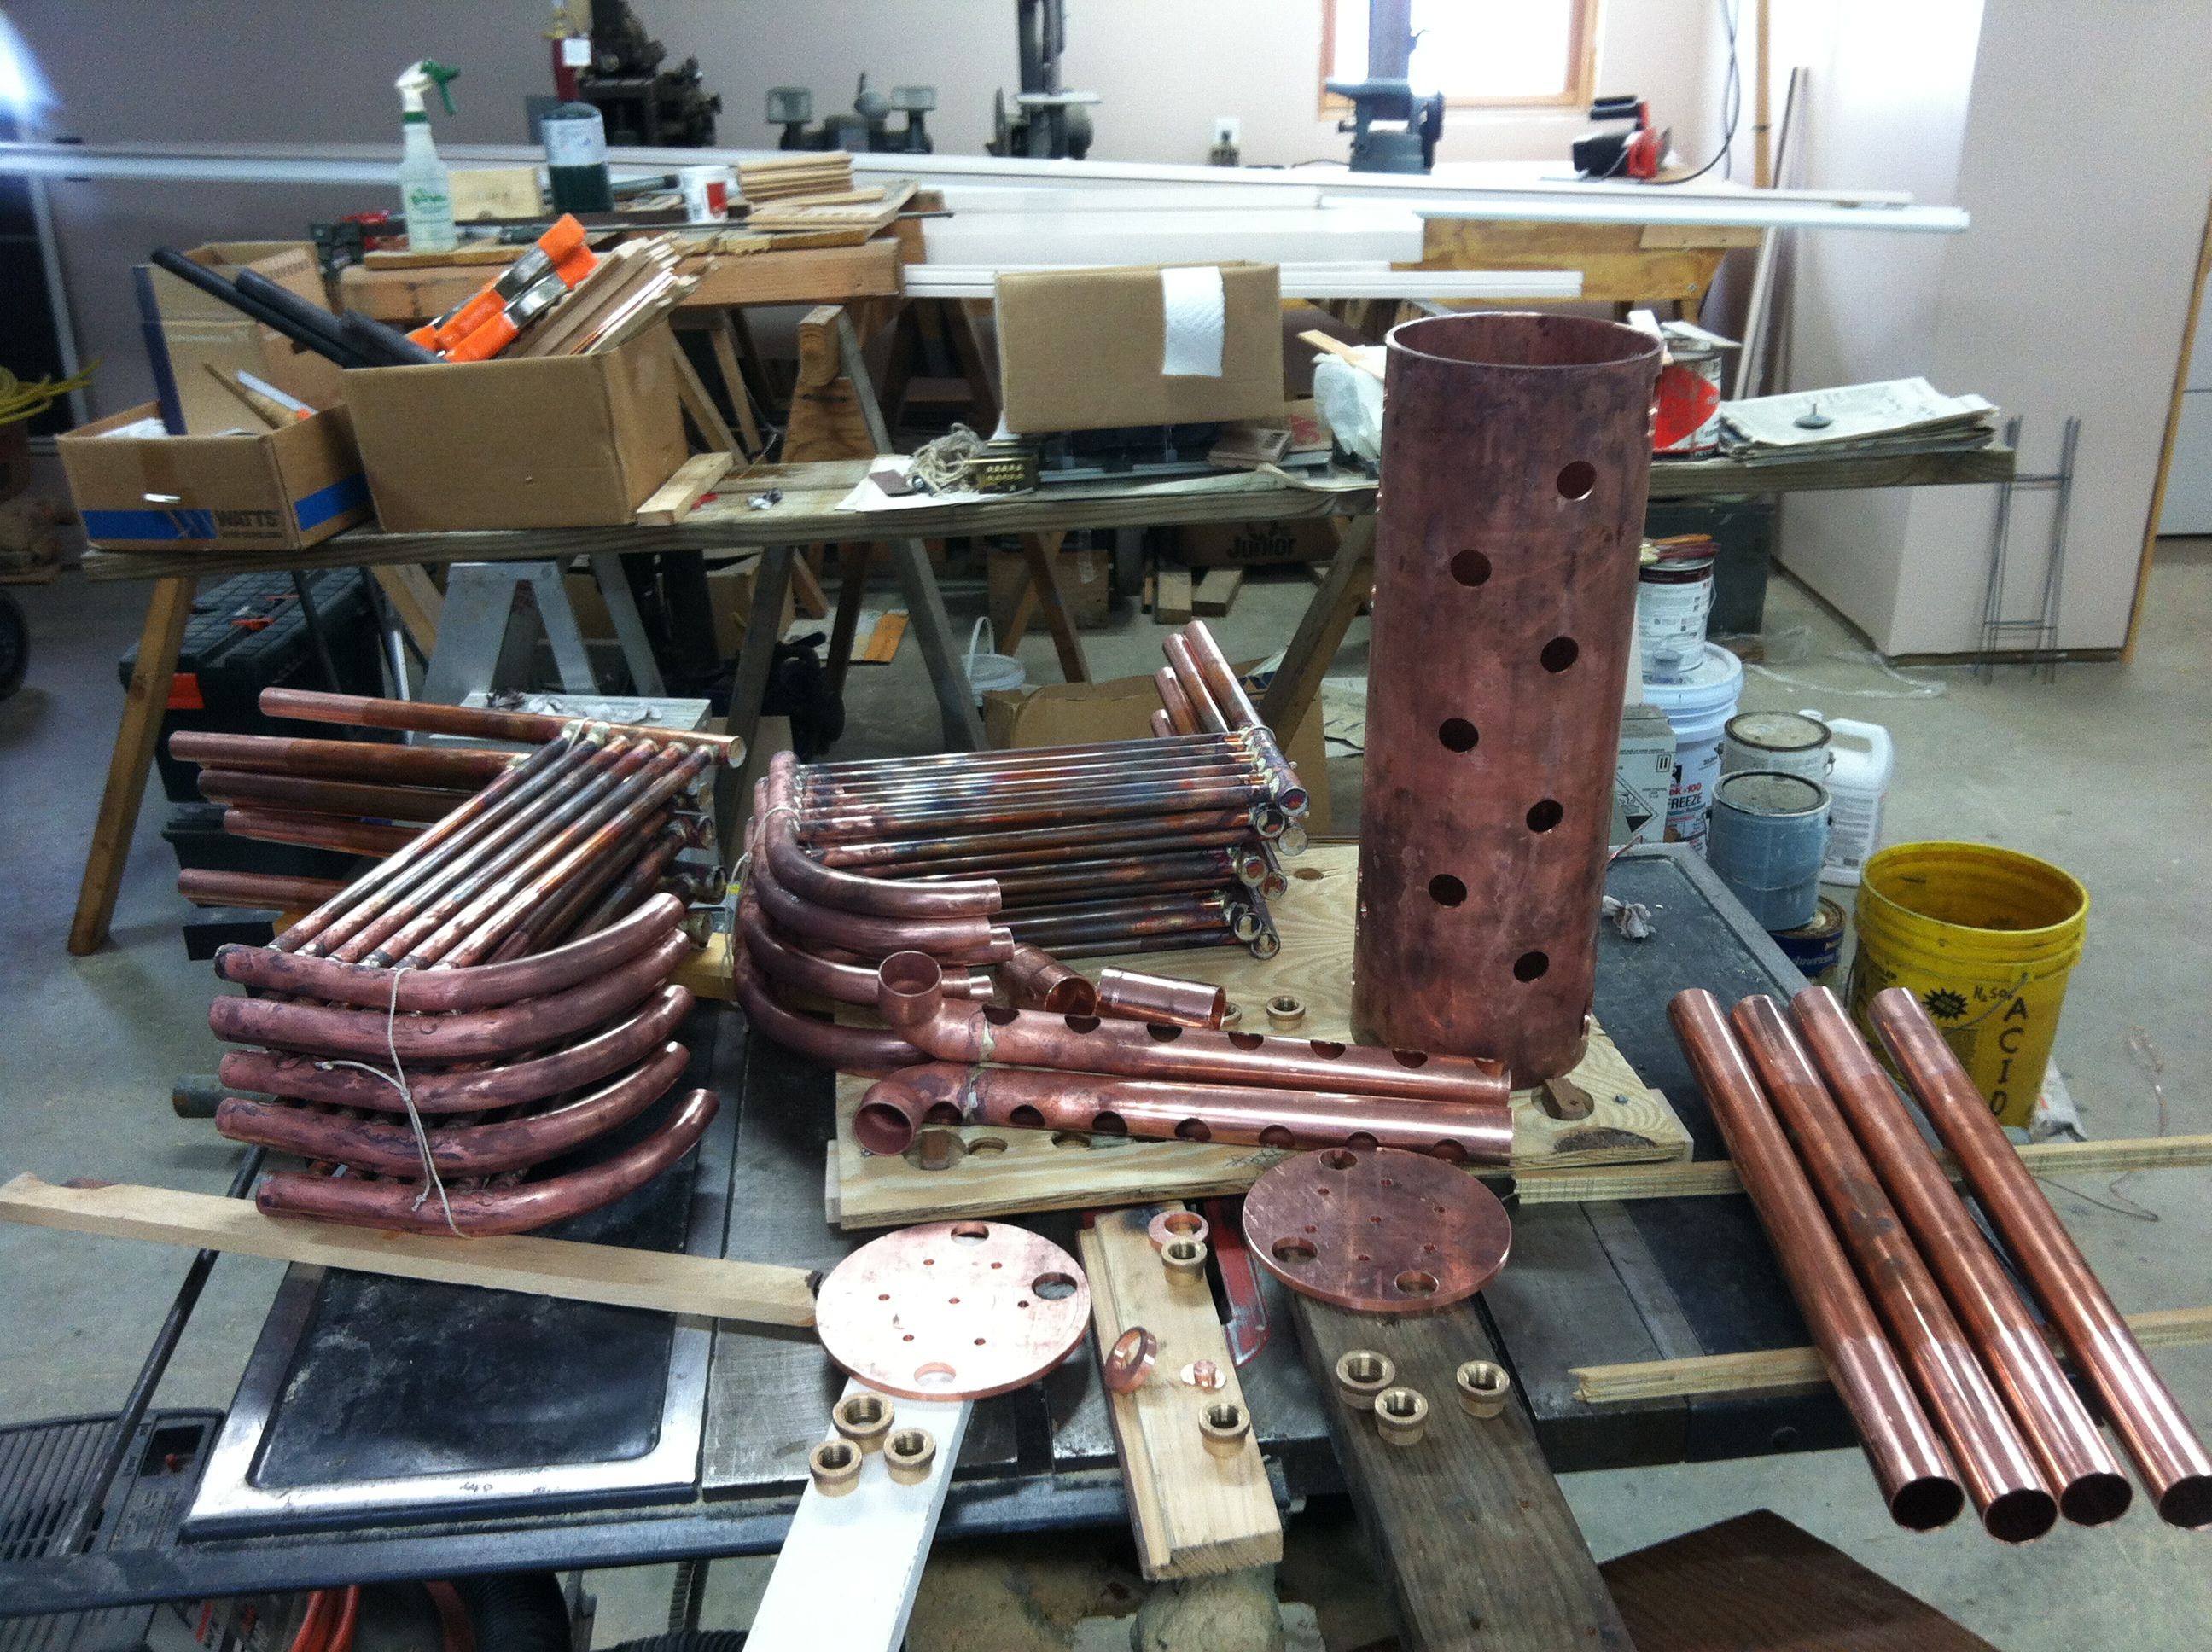
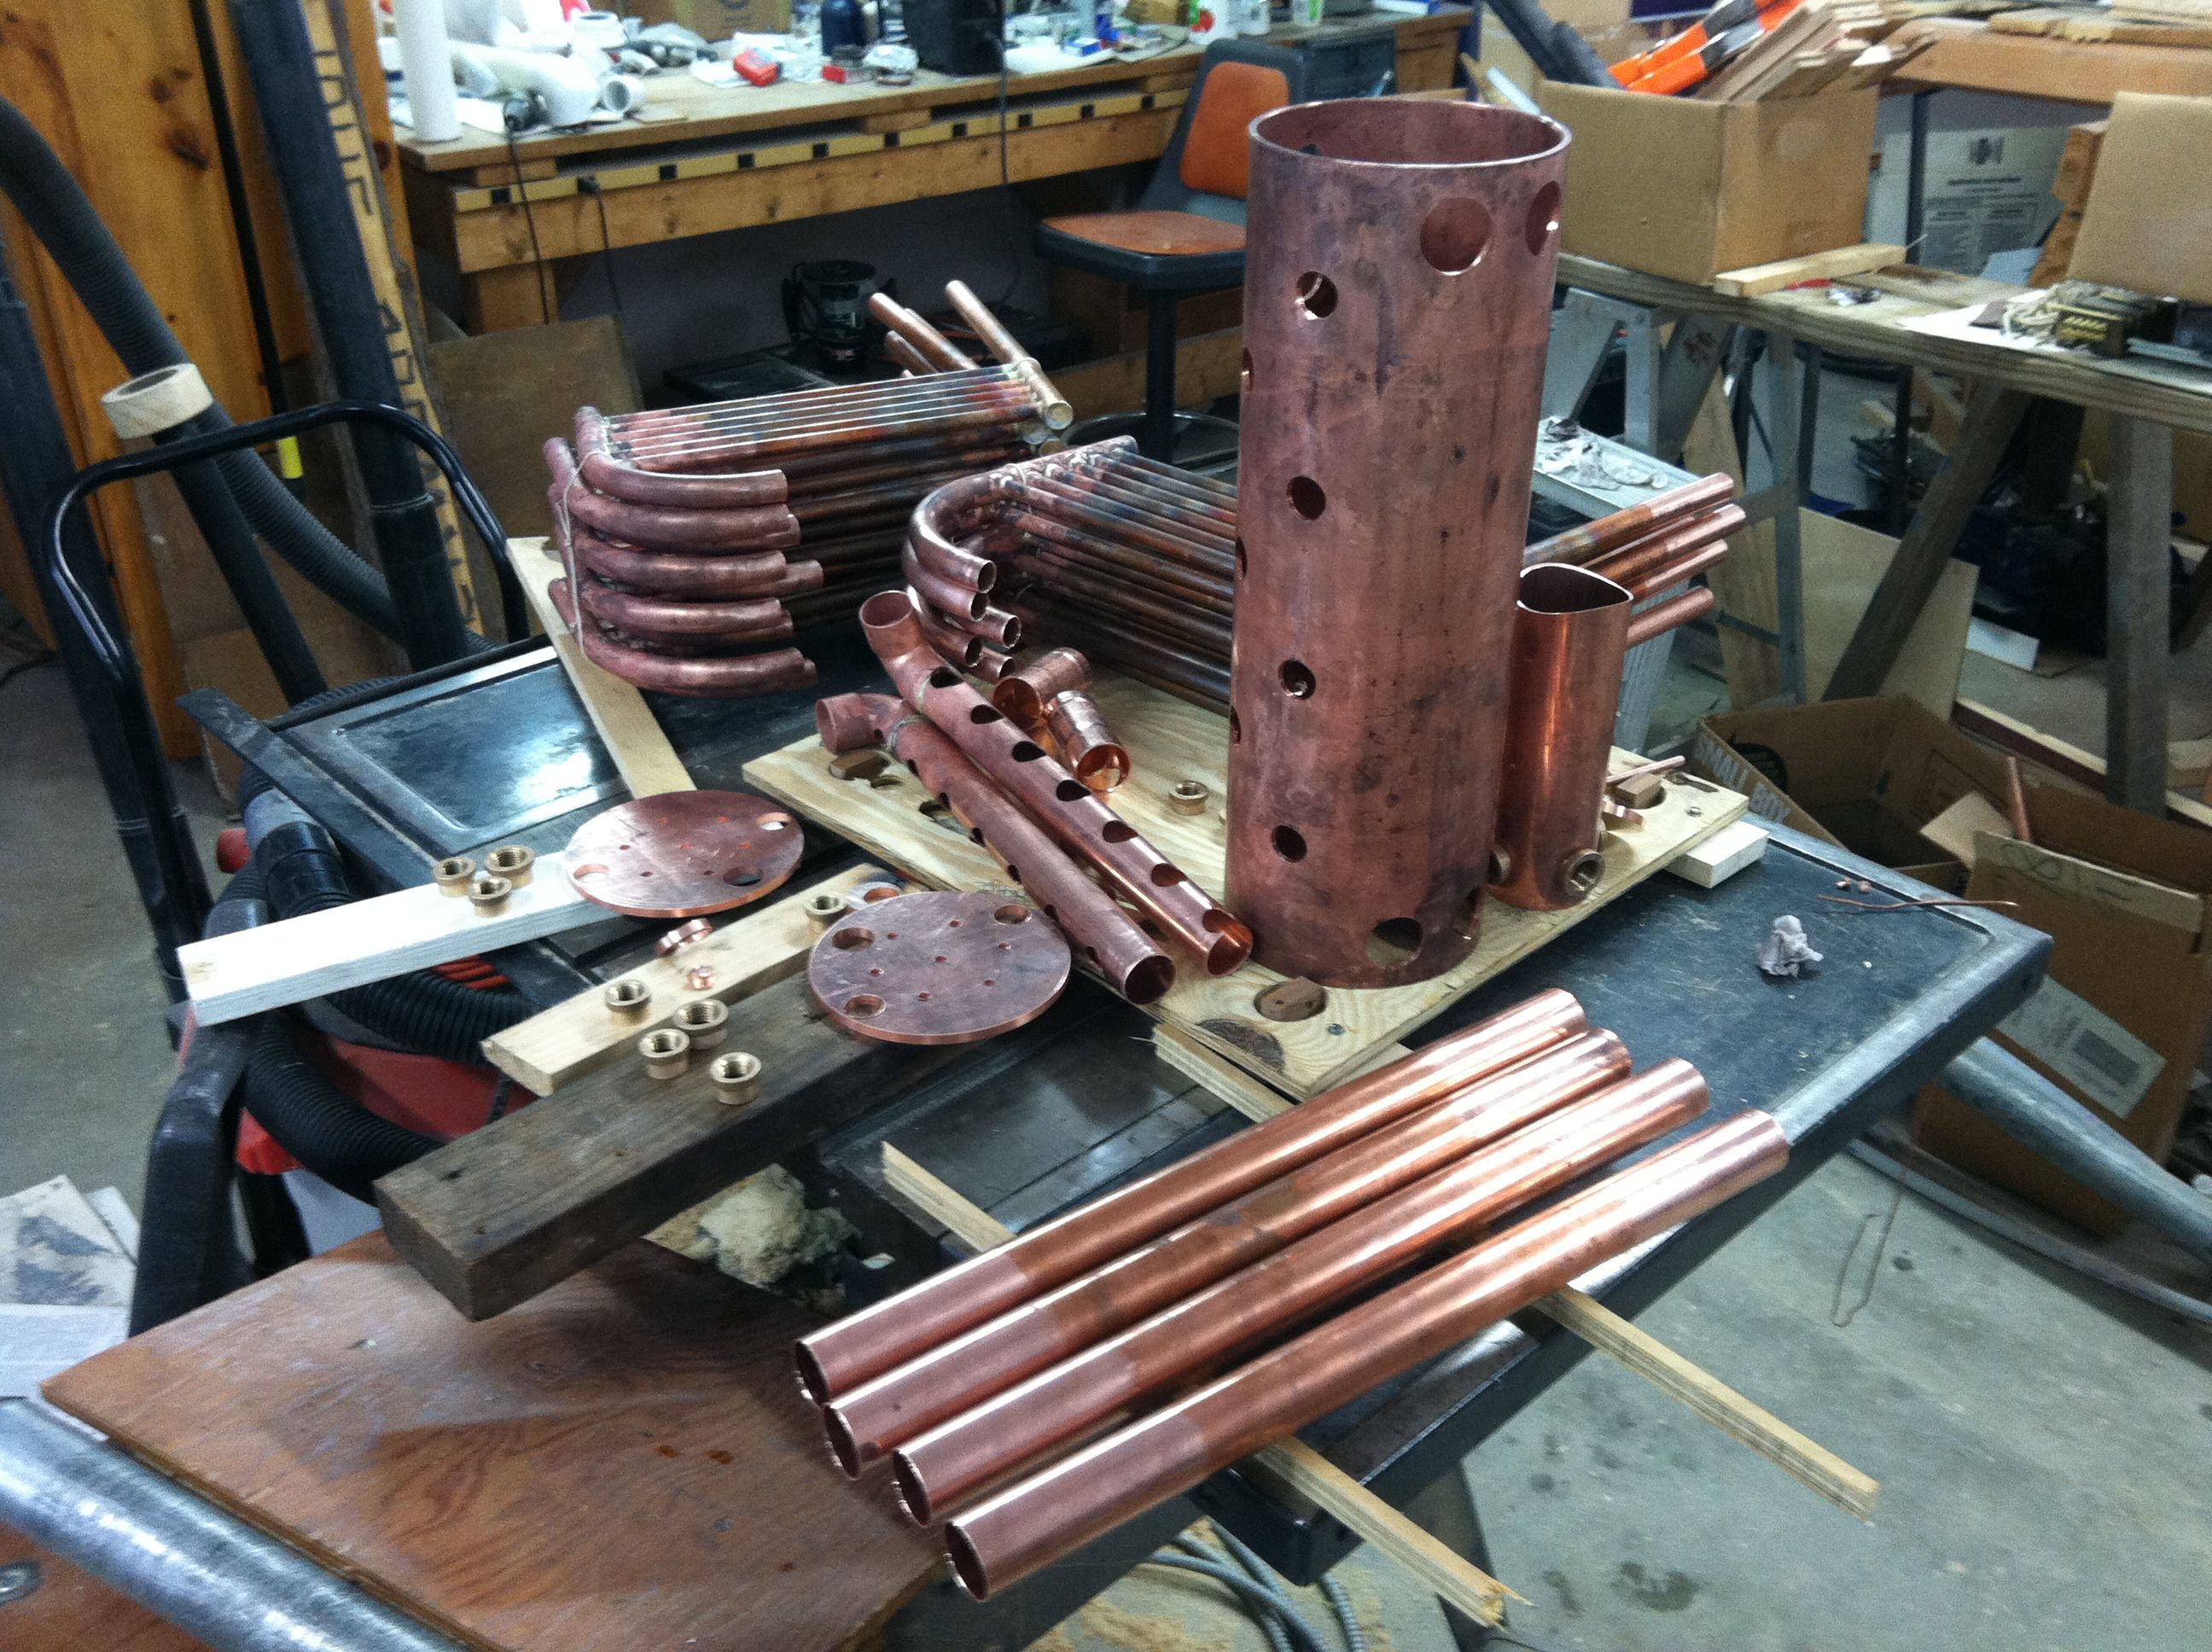
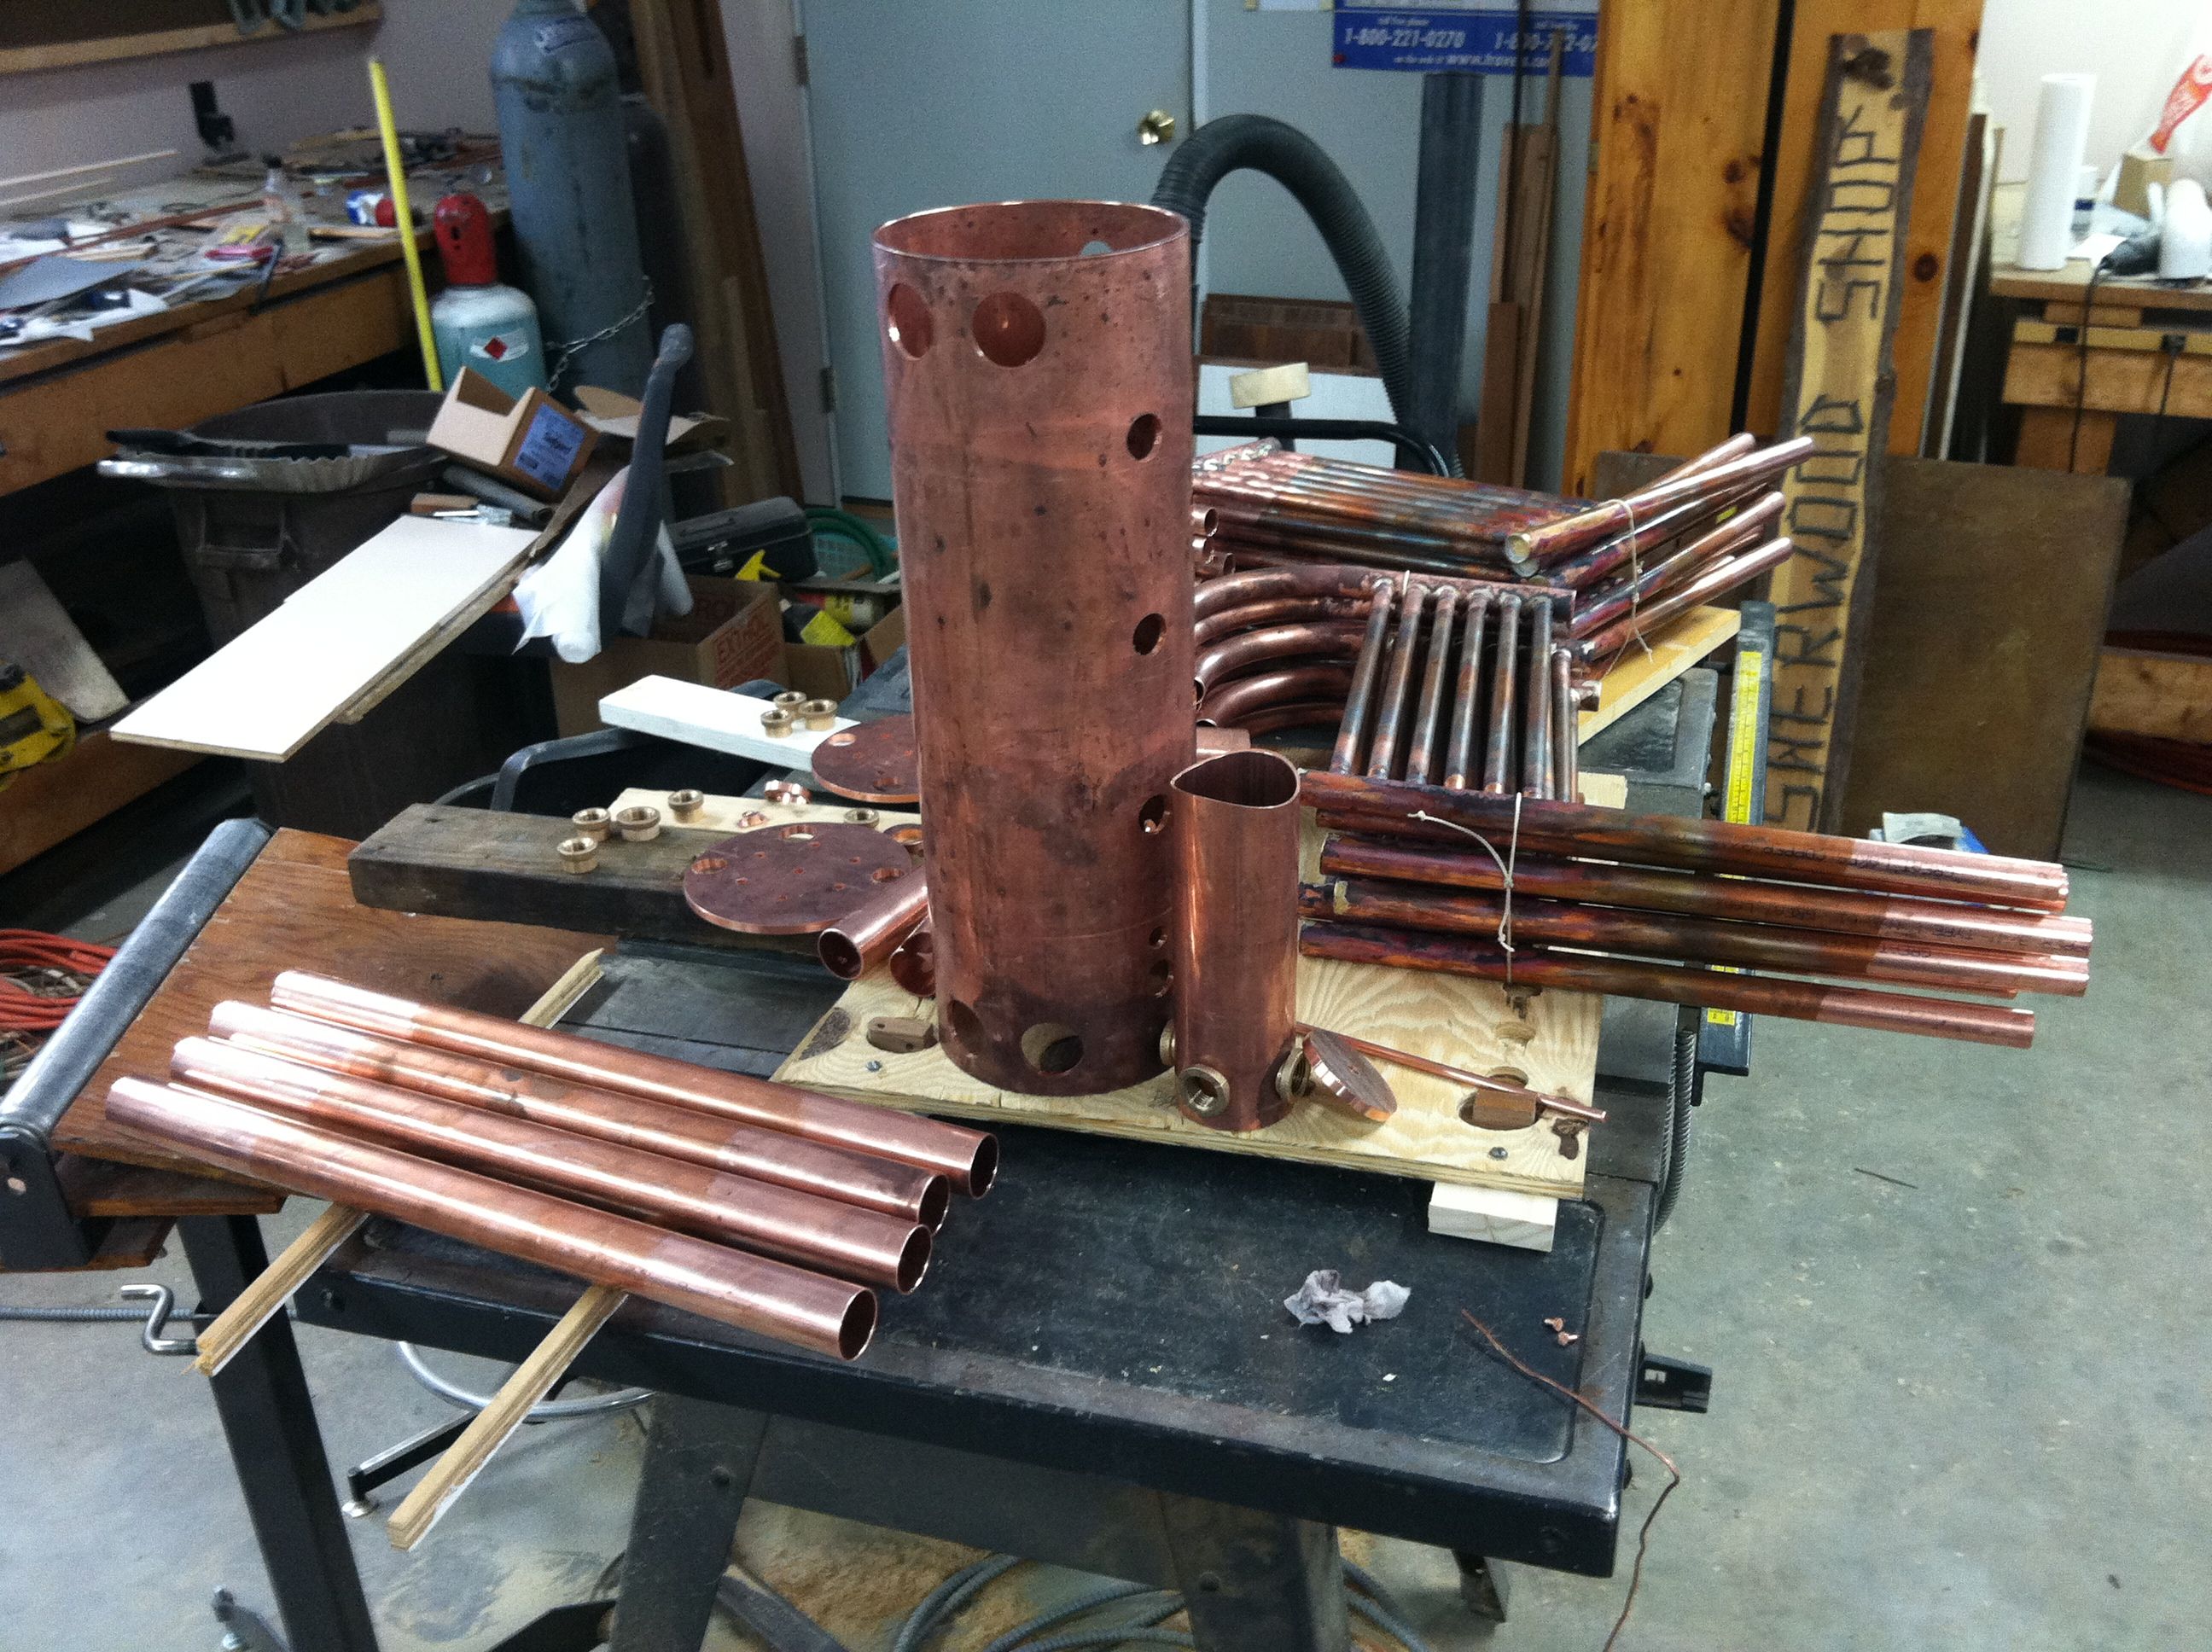
After some hiatus I finished all the parts and etched the areas to be silver soldered.
Here are the parts.
All etched parts 1 (1/6/2013)
All etched parts 2 (1/6/2013)
All etched parts 3 (1/6/2013)
All etched parts 4 (1/6/2013)
All etched parts 5 (1/6/2013)
All etched parts 6 (1/6/2013)
Assembling was not easy with so many loose parts. The assembled in 3 dimensions with tubes in holes adds to the challenge.
After about an hour, it was assembled and clamped. Here the Mud Drums are silver soldered and the steam drum fluxed.
The Steam Dome is also done.
Mud Drum Soldered (1/8/2013)
Steam Dome Soldered (1/8/2013)
A few minutes of HEAT from 2 rose buds and it is done.
We had one rose bud inside the 6" drum and one outside.
The end plates and stays were put in as a second and third operation with the boiler on its ends.
There is a slight twist to the Steam Dome compared to the Steam Drum. Correcting this would require a lot of heat. Even 2 rose buds would have a hard time getting the entire base of the Steam Dome to milt...
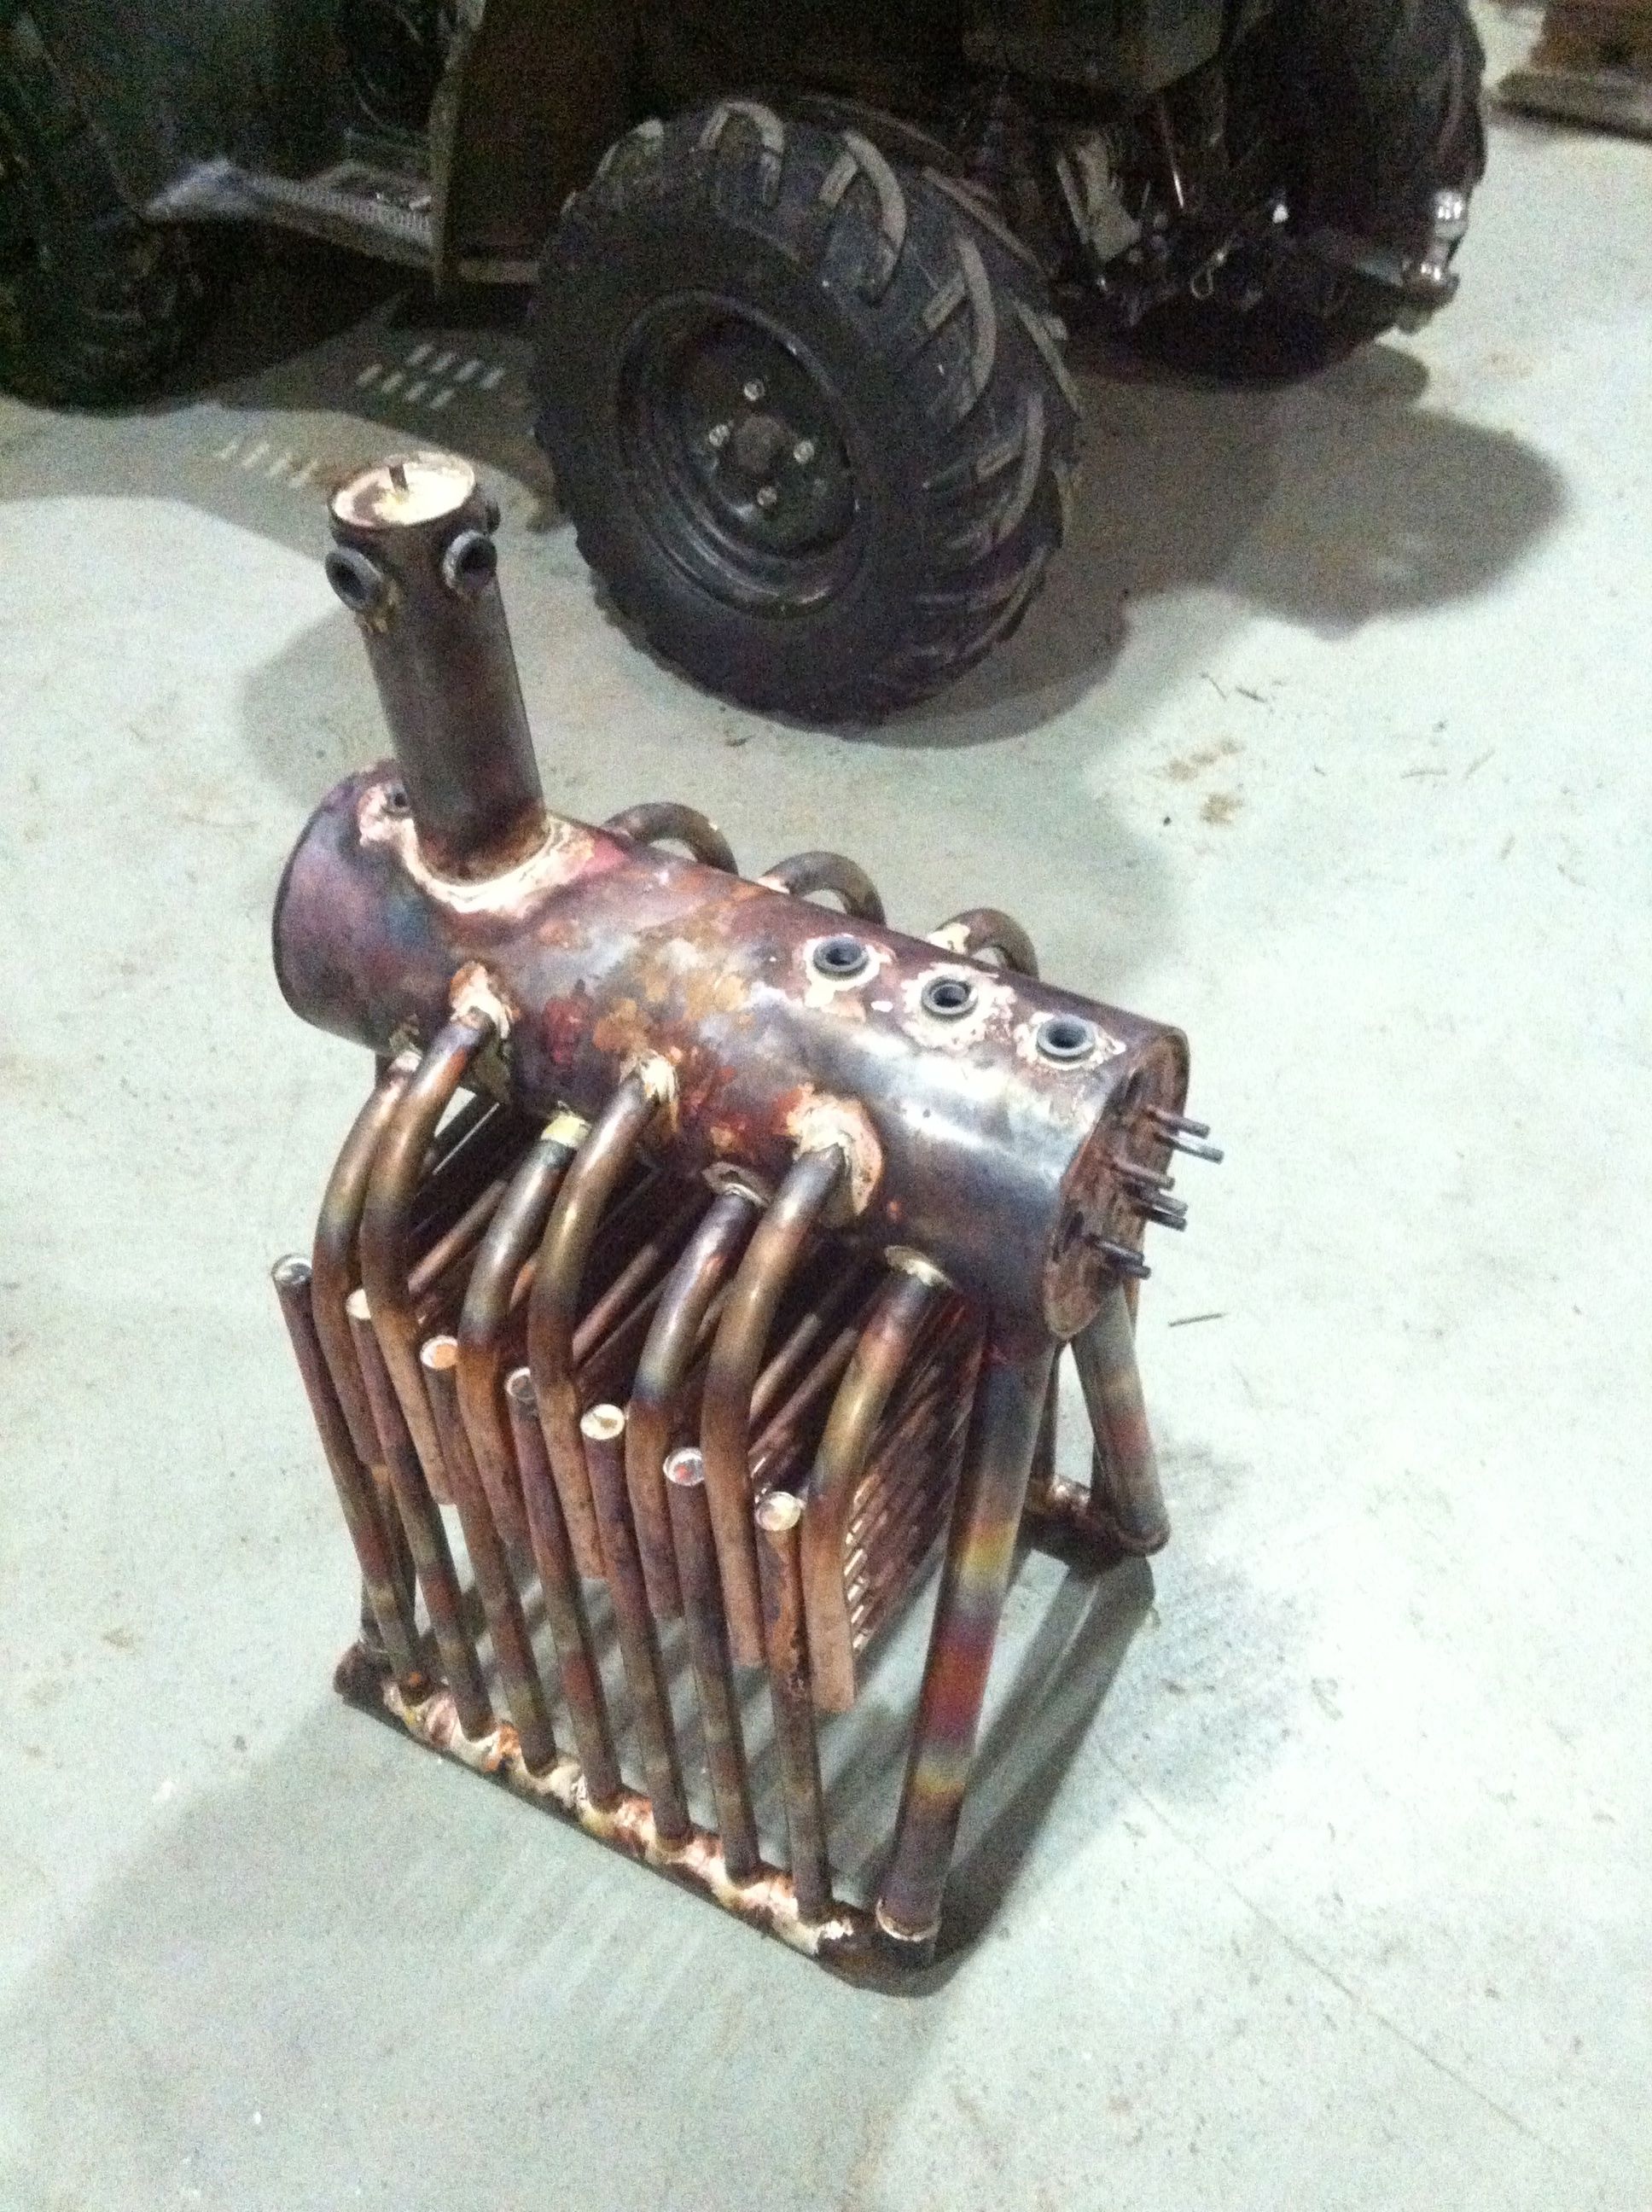
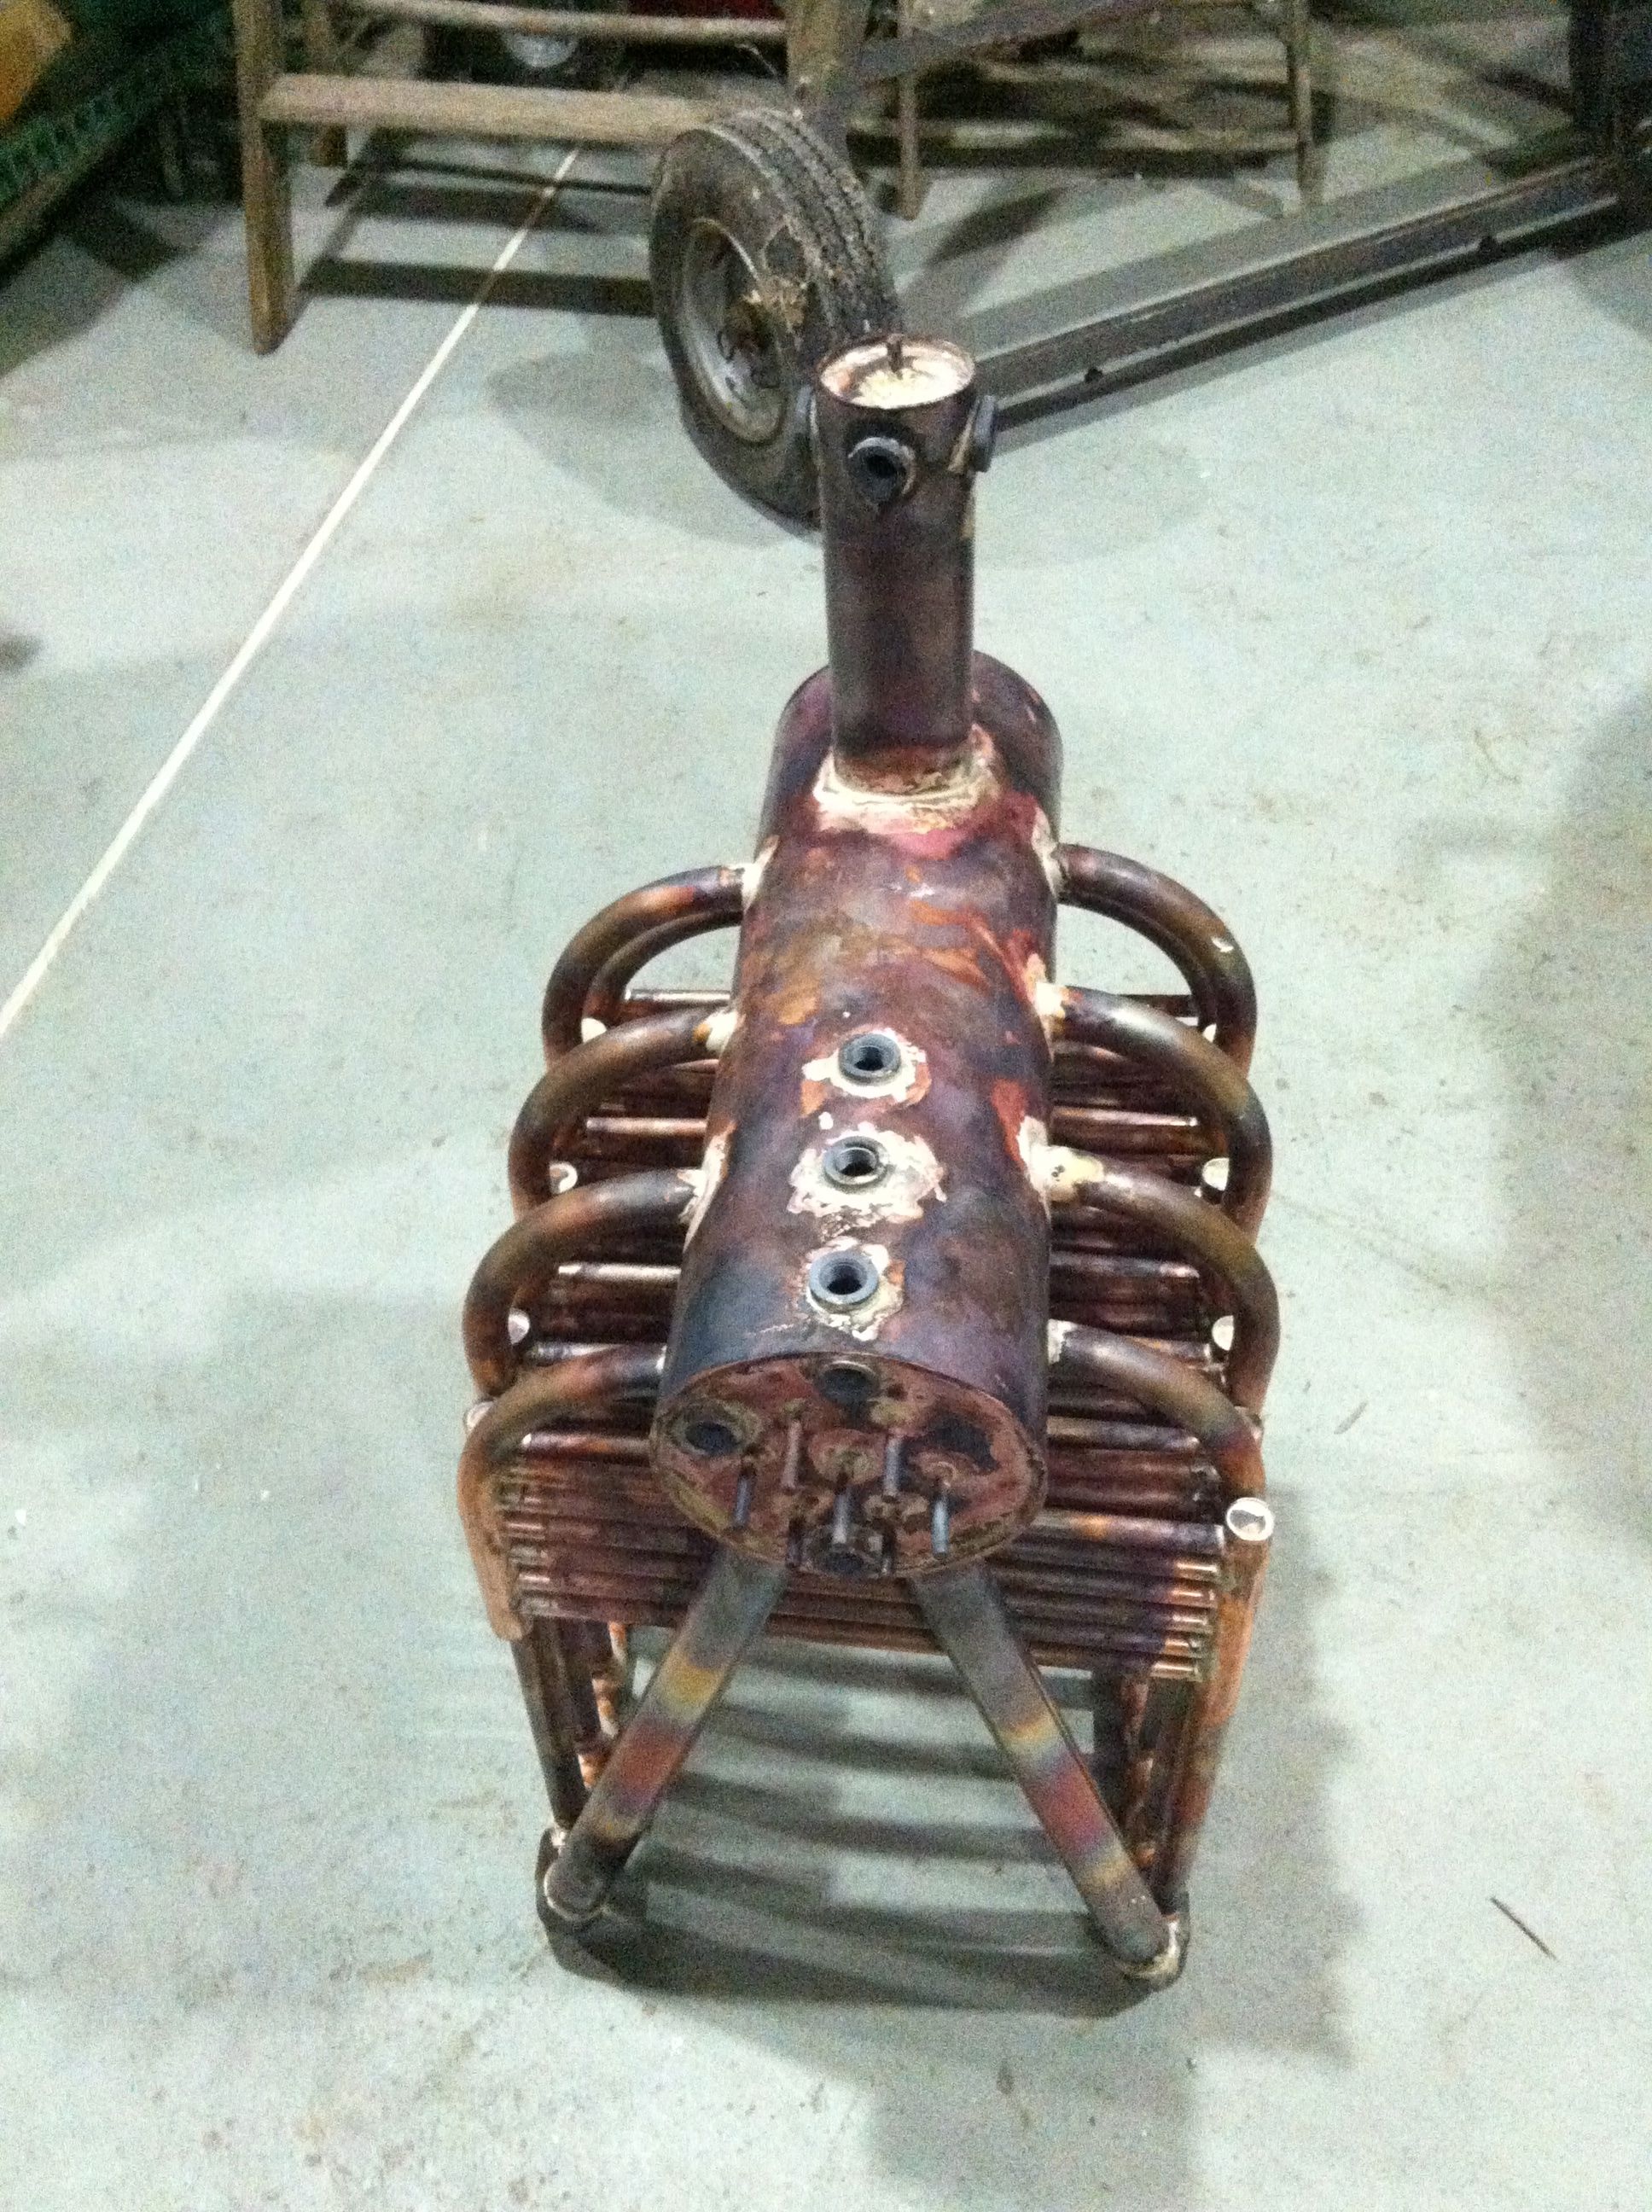
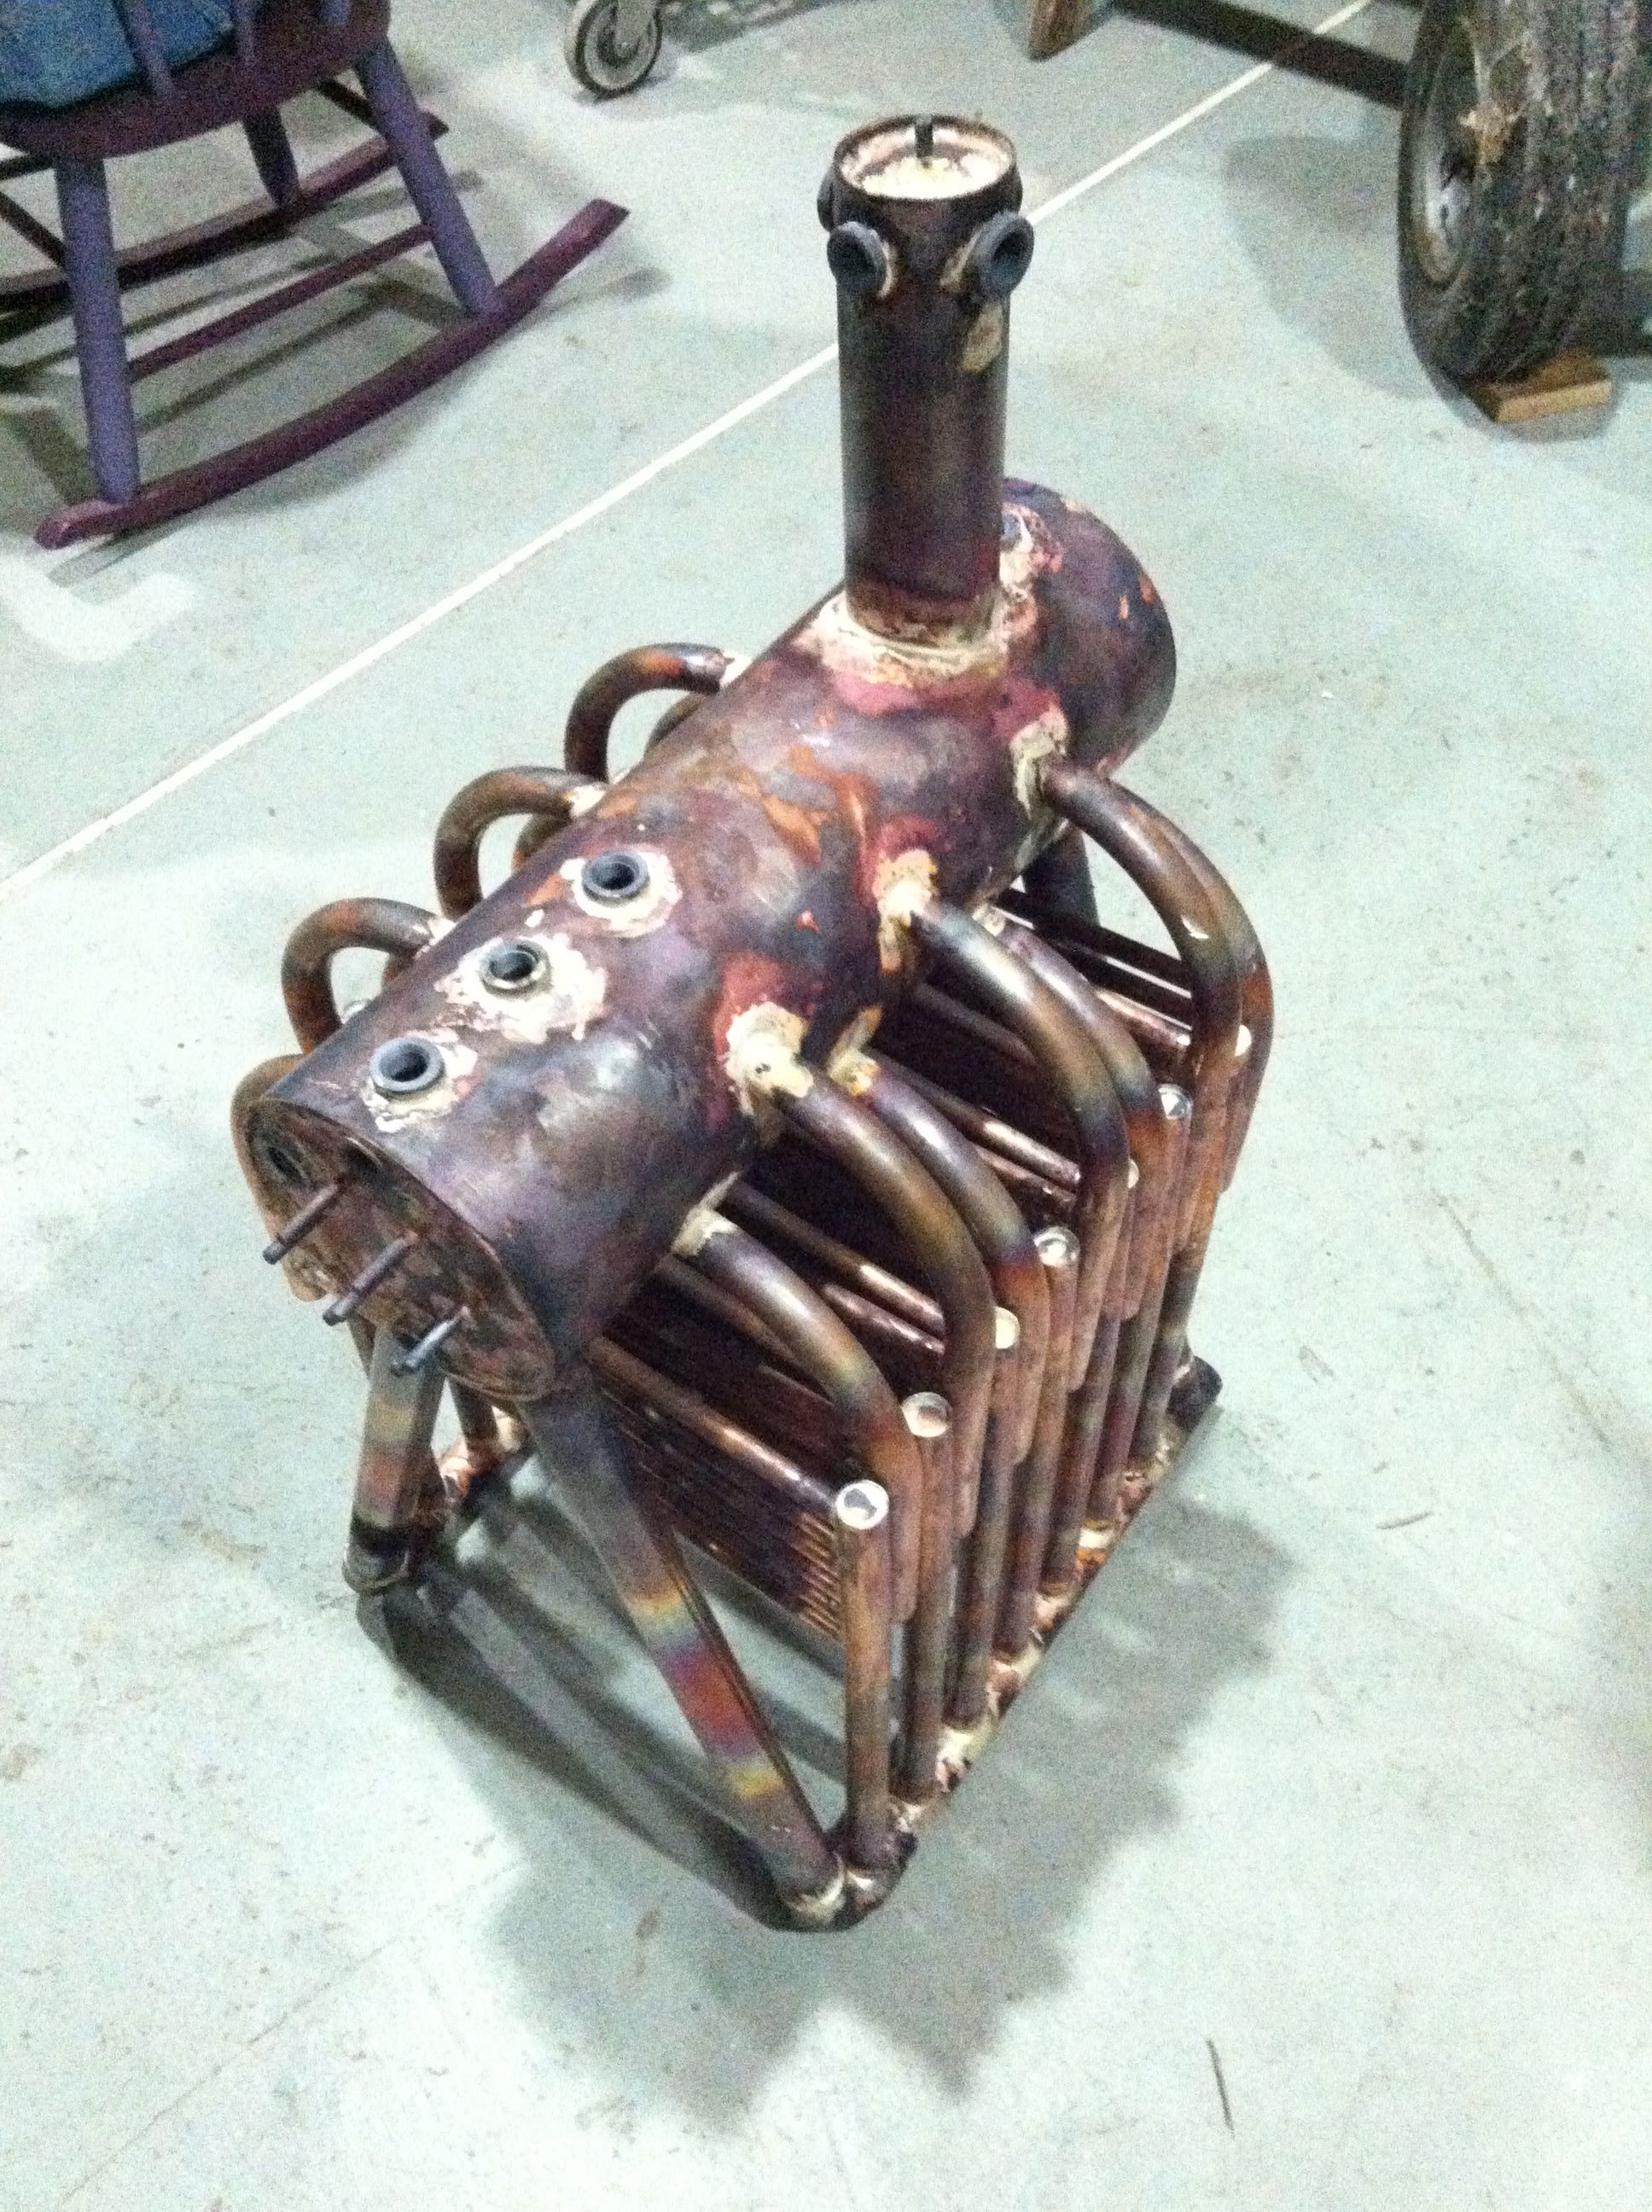
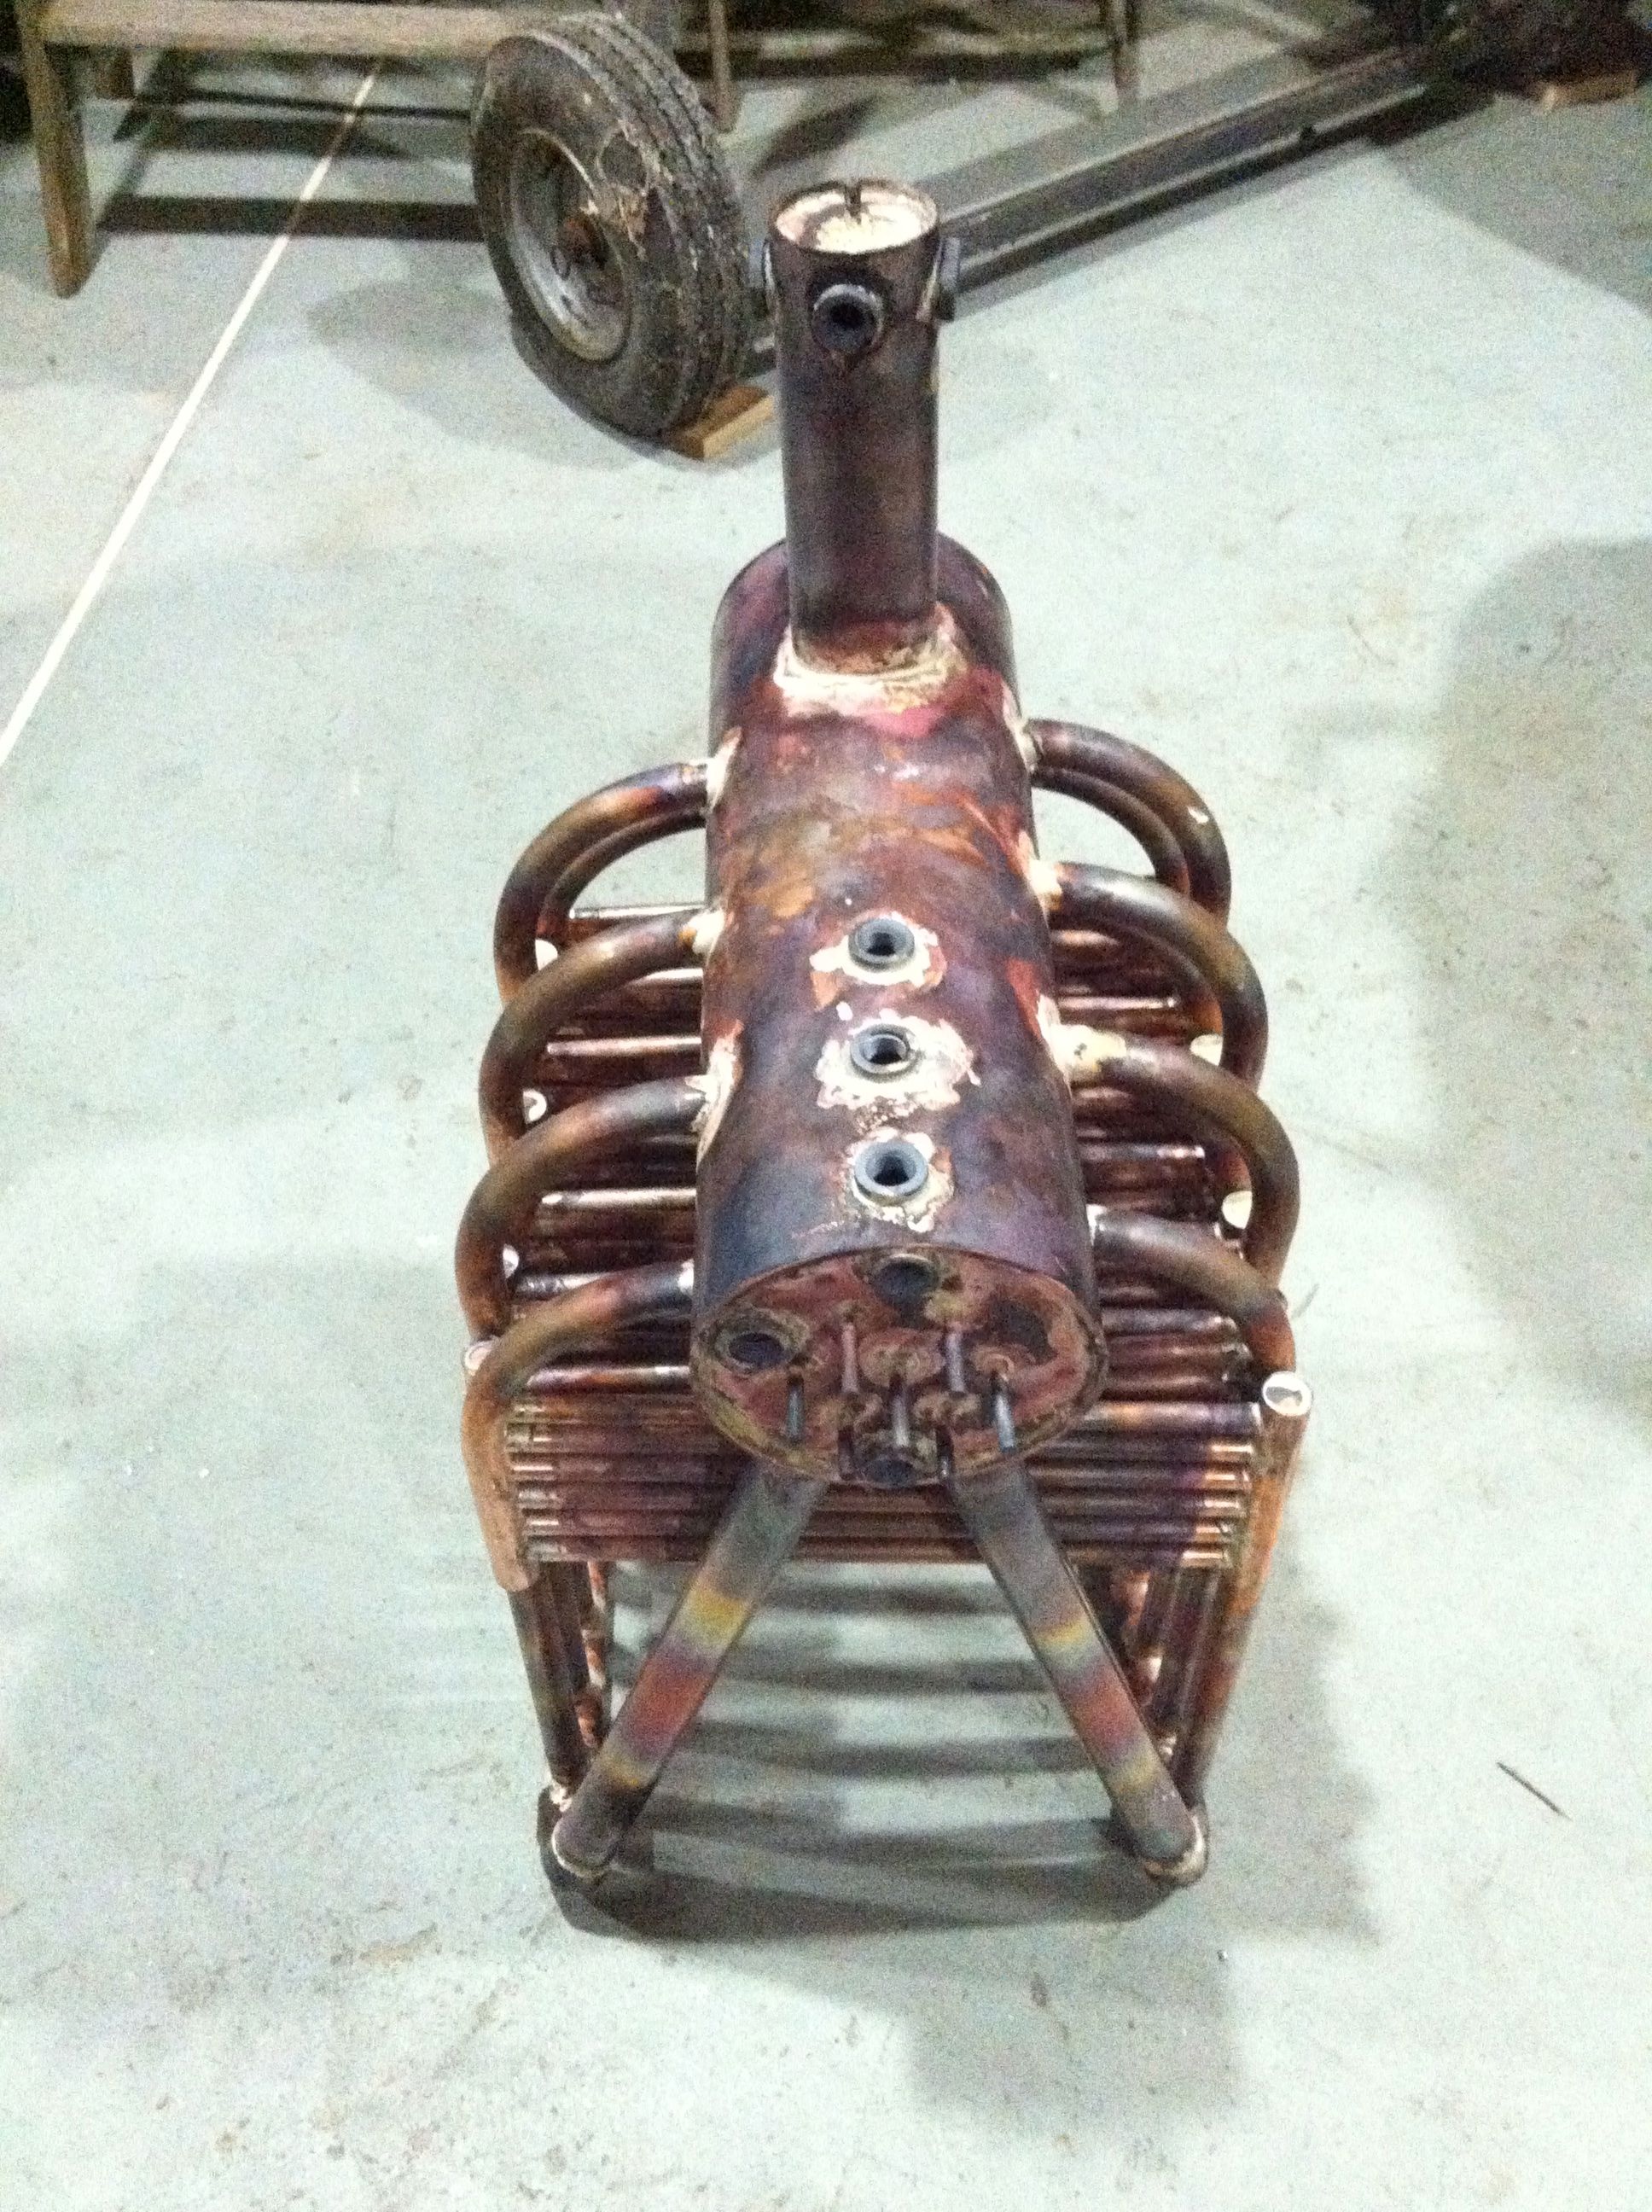
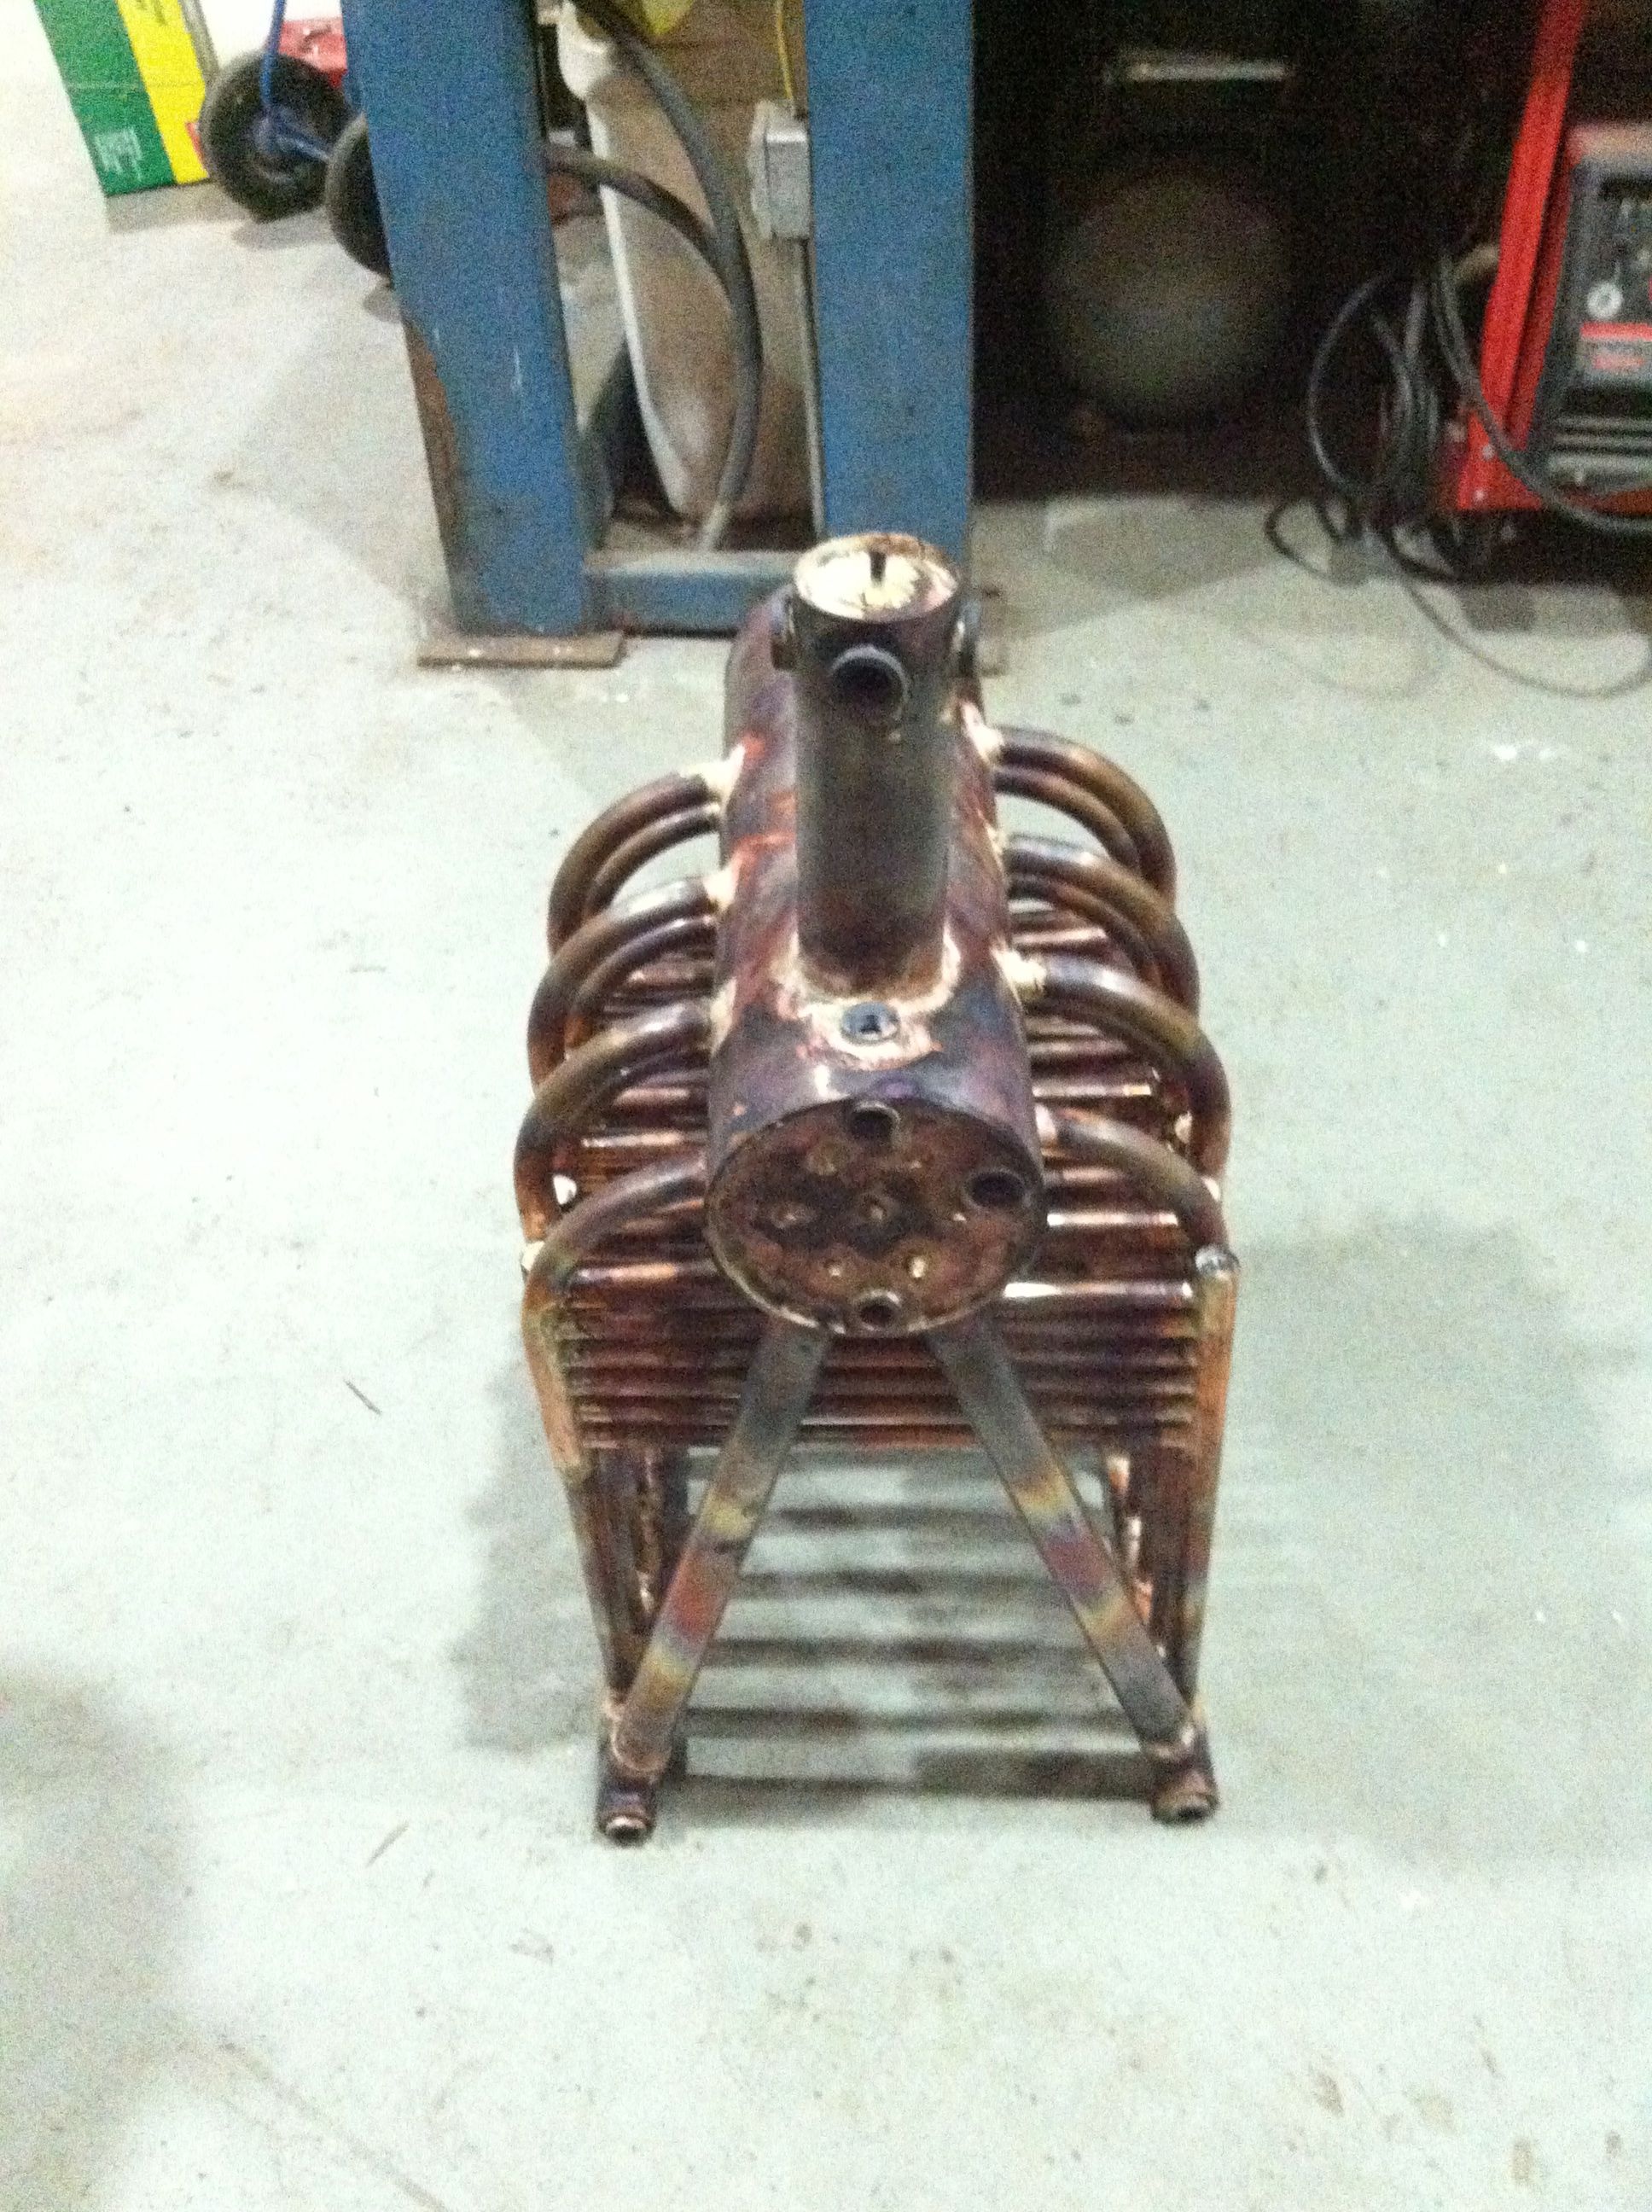
Boiler Soldered 1 (1/8/2013)
Boiler Soldered 2 (1/8/2013)
Boiler Soldered 3 (1/8/2013)
Boiler Soldered 4 (1/8/2013)
Boiler Soldered 5 (1/8/2013)
Boiler Soldered 6 (1/8/2013)
Boiler Soldered 7 (1/8/2013)
Boiler Soldered 8 (1/8/2013)
Pressure testing on 1/10/13 revealed one pin hole leak at 10 PSI where a 3/4" tube entered the Mud Drum.
This was easily cured with flux, silver solder and the rose bud on the torch.
I hydroed the boiler to 150 PSI and noticed the pressure went down slowly.
After 5 minutes, the pressure was 145 PSI.
This could be from leaks in the boiler or any of the pipe or plugs put in to test this pressure vessel.
I hydro tested the preasurer vessel to over 300 PSI.
There was a few spots that had a drip per minute or less.
I would fix them and test to more that 300 PSI again and notice a new location with a very slow leak.
I repeated this a few times.
Eventually I got all the leaks to stop.
I attribute the new leaks to slight flexing of the preasure vessel.
Although the calculations say I have a safety factor of 8, the materials will flex with 1/4 of that preasure.
I think this caused the very small weeping to occur.